[Review] Bloodstained: Ritual of the Night
Posted on July 7, 2019 by Dennis Gagliardotto(@LyonHart_) in Reviews, Switch
System: Switch
Release date: June 25, 2019
Developer: ArtPlay
Publisher: 505 Games
Castlevania has been an incredibly important series for the entire medium of gaming. It has also had a long, illustrious life and popularity due in part to longtime series producer Koji Igarashi. The terms Metroidvania and “Igavania” had since been coined thanks to Castlevania’s unique direction of gameplay that usually requires the players to uncover large sections of a map by simply exploring. A huge portion of the fun comes from uncovering the area and seeing how seamlessly it all connects with each other as you run into locked doors and keys in various rooms and levels that intertwine before progressing even further. Bloodstained: Ritual of the Night, the newest creation from Igarashi, would be a return to form to a more nostalgic time in video game history, with very little hand-holding and a freedom of exploration only interrupted by a player’s lack of curiosity. It’s without a doubt one of my favorite games to come out this year, but unfortunately, the Switch version of the game should not be the platform of choice when deciding to tackle an otherwise truly fantastic experience that’s been long overdue for fans of the genre.
Bloodstained has a simple but strong story, letting the gameplay take the helm. The protagonist is Miriam, a Shardbinder who holds incredible power following experiments she endured an orphan in which shards were used through her as a host to summon monstrosities from hell unto the land of the living. These experiments were brought on her by the Alchemists’ Guild that took her in, and years later she’s brought it upon herself to reverse the damage as she awakens from a decade-long coma and to protect what’s left of humanity – both the species and the humanity of herself. Shards, while powerful, do come with a deep consequence as Shardbinders can succumb to the demonic powers, and even if they can control it like Miriam can, shards cause the wielder to crystallize over time. The process is made even more rapid through exposure to more shards, of which you’ll acquire plenty throughout the game.
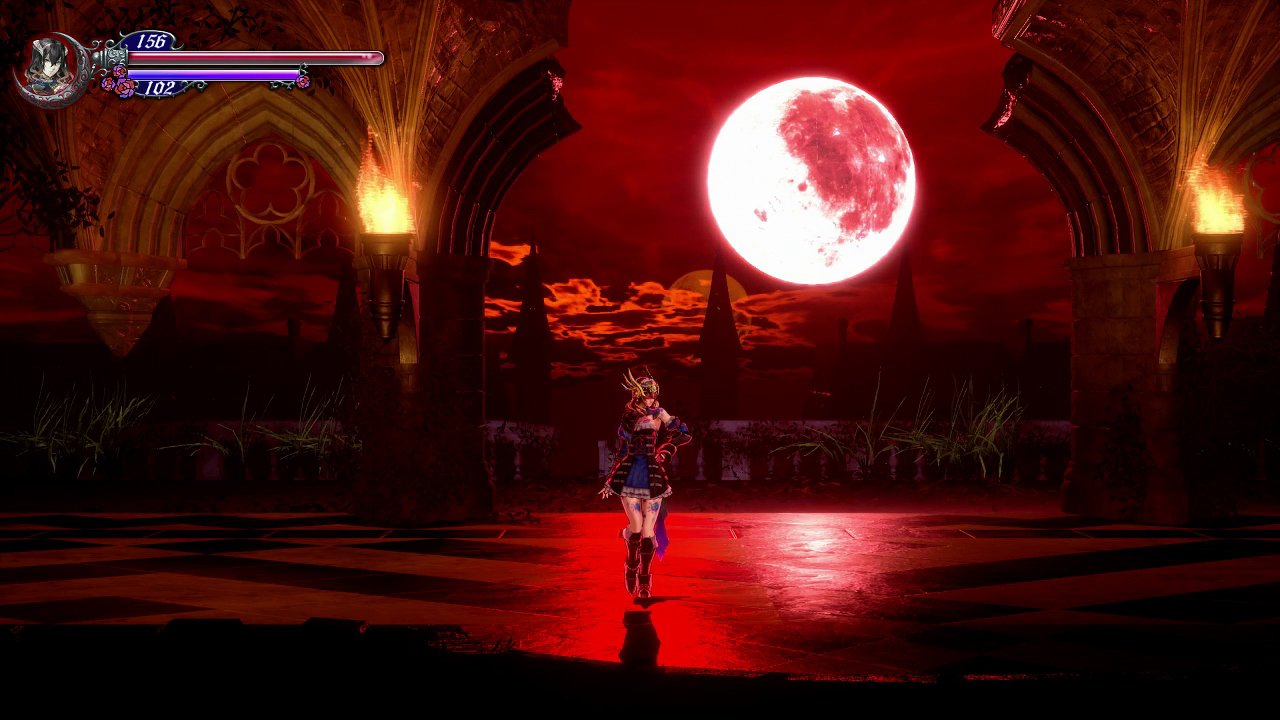
As the corruption makes its way through her body, she and her companion, Johannes, an alchemist in training who’s been studying a way to slow and hopefully prevent the crystallization process, meet with his friend Dominique. Dominique is an exorcist for the Church who aids them with supplies and some housing at your starting location, Arvantville. Miriam will ultimately try to make her way to the castle known as Hellhold to banish the demonic presence. Arvantville will be your primary hub you’ll frequent as you upgrade materials, craft new items, and take on side quests in addition to the usual saving and preparations before heading out again.
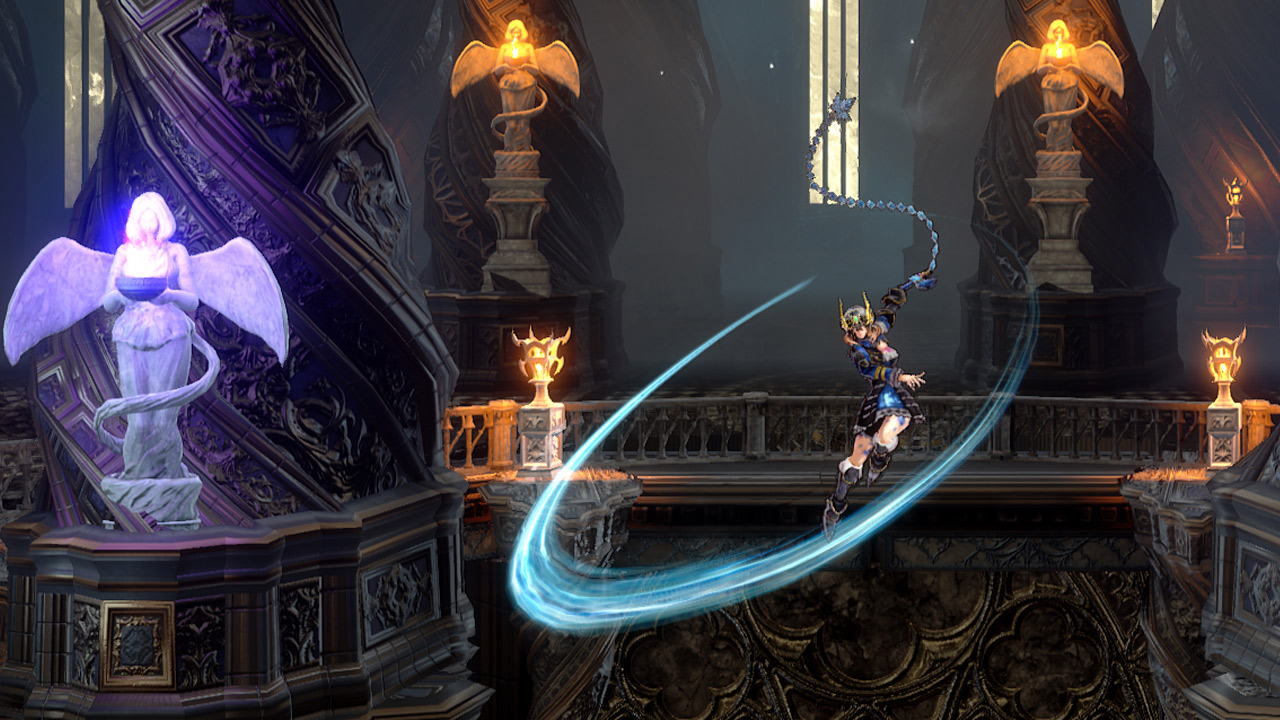
At first, because the map takes quite some time to be uncovered and is much larger than I think most of us anticipated, going back to Arvantville can feel like a nuisance. However, after a decent amount of exploration, you’ll run into fast-travel rooms spread throughout the castle that can take you to various parts within it. These rooms are presented in a beautiful stained glass structure in between two statues and are marked as green quadrants on the map. More often than not, these rooms tend to be close by save rooms as well, so if you happen to run into one or the other, you should run into the other fairly close by, which is definitely something you’d want to check for before boss fights. Save rooms are indicated by the red color on your map and are just as eloquently designed with a Gothic structure and architecture complemented by a beautiful red leather chair Miriam sits in to save and restore health and magic points.
My favorite part about these rooms is that they may seem close by each other at first, but with the enemy placements of each screen and section of the map, it can be very challenging depending on your set up and how far you’ve gotten in since your last upgrade. Finding a save room and/or fast-travel room is a breath of fresh air that is never taken for granted. I found it rather incredible that as I proceeded through the game, some rooms that I found to be outright grueling towards the beginning became somewhat of a joke as I began to one-shot everything in sight, farming coins, materials, and shards. It gives a true sense of progression and power to Miriam as you grow, but it’s still never a good idea to feel too comfortable as there’s always something bigger and more frightening around the corner.
Because of the wide variety of enemies – over 100 in fact – that have various shards and material to acquire, the weapons and shards you have access to and can craft and upgrade are plentiful, but the power doesn’t come without sacrifice. The plethora of abilities at your disposal is incredible, and the loadouts Miriam can have are so flexible and can really be tuned to the player’s style, implementing not only the usual attack, defense, and speed stats you usually see in games like this, but elemental resistances such as fire, light, poison, and so on. Some of these even give Miriam visual changes as well. The sacrifice for these weapons and upgrades comes from the low drop-rate a lot of them have, but never once did I feel it unfair. Instead, the grind-heavy nature made me excited to take on more formidable foes in hopes of getting that next great shard or material I would need to craft the weapon or armor I wanted that suited my playstyle.
Due to the huge catalog of items in just about every department of Bloodstained, there’s a compendium you can look through to see what demons you have or haven’t run into, what they can potentially drop and the frequency in which they drop. For completionists, this is a nice way to keep track of everything you’ve encountered, as well as what and where to focus on when aiming for that next big upgrade.