The best and worst Salmon Run rotations possible in Splatoon 3
Every few days, a new Salmon Run shift starts in Splatoon 3. Each one includes four different weapons, a different stage, and a different King Salmonids. We’ve already written guides on all of the King Salmonids in Splatoon 3 (you can check them out here), but how can you tell if a given rotation is good or bad? Today, we’re going over what makes a Salmon Run shift “good” – in other words, viable for farming – and what makes a Salmon Run shift “bad”, too.
How good is each stage?
The first thing you’ll notice about any given Salmon Run rotation is the stage it’s on. Generally speaking, every possible stage will appear at least once during two weeks’ worth of shifts. Despite all the different options, some stages are definitively better than others. The most difficult stage in the game is almost certainly Marooner’s Bay, which is a returning stage from Splatoon 2’s version of Salmon Run. It features a giant shipwreck, and the egg basket is at the very top. Boss Salmonids often spawn incredibly far away from the basket, and to get back, you either have to go up a slow-moving elevator or swim all the way around to the side of the ship. As a result, when you play Freelance on Marooner’s Bay, you’ll often find teammates who focus too heavily on splatting bosses at the shore. And since the eggs are so far away from the basket, it’ll take too long to meet your quota! On the other hand, you can’t stay exclusively by the basket, either. Flyfish and Stingers are tough to handle on this stage, so we’d recommend splitting up and keeping two turflings at the basket and two out on the shore to get rid of bosses. That said, it’s impossible to coordinate this if you’re playing with random teammates. This makes Marooner’s Bay rotations particularly tough.
Another difficult stage is Salmonid Smokeyard, which has a similar problem to Marooner’s Bay – just to a lesser extent. This stage is essentially split in half, and a river of deadly water runs between the two halves. The only way across are propeller-powered platforms. The egg basket is on one side, which forces turflings on the other side to throw their eggs over the gap (or waste time waiting for the platforms). Throwing eggs consumes a lot of ink, which in turn makes you vulnerable to enemies like Cohocks, Flyfish, and Flipper-Floppers. In other words, you need to coordinate on this stage, too – which, again, isn’t quite possible when playing online with randoms.
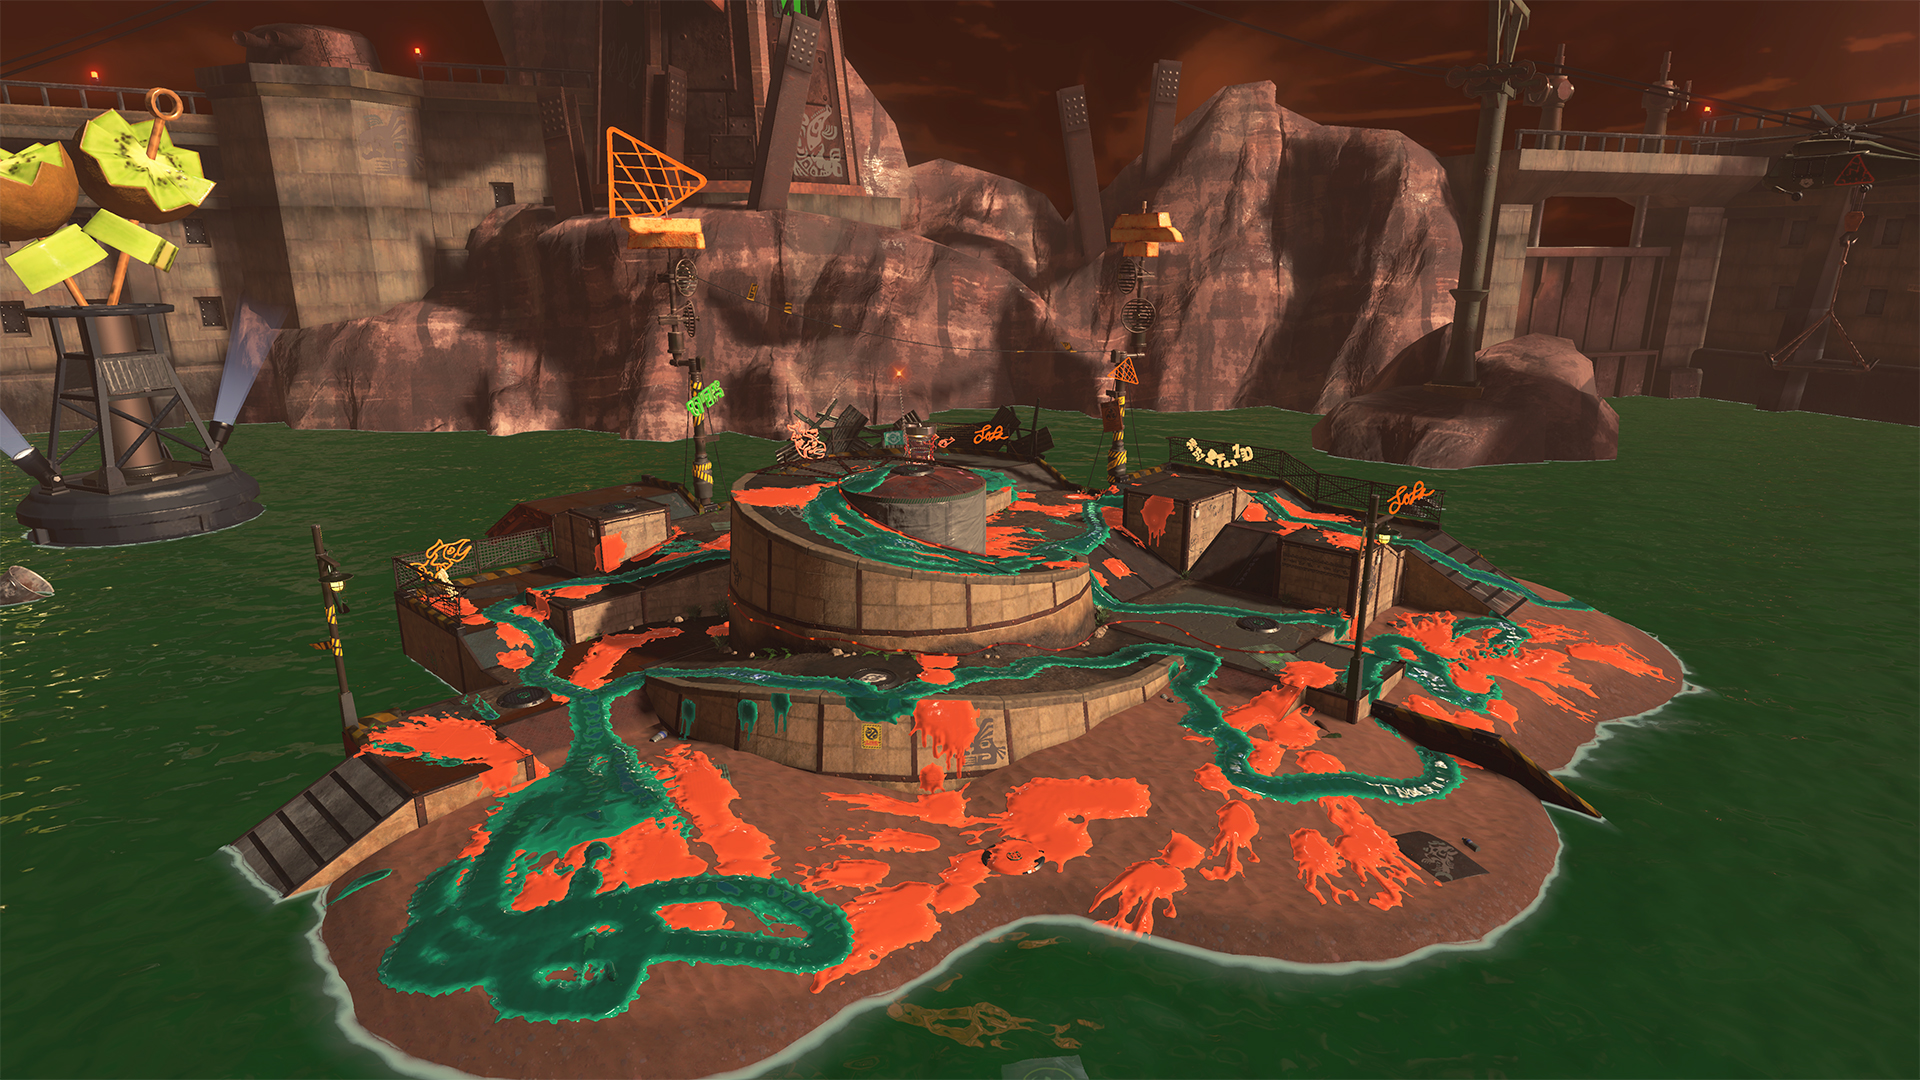
Spawning Grounds comes in as third most difficult. On high tide, you’re forced to maneuver across grates in order to access shore bosses like Flyfish. You can’t turn into swim form on a grate without falling into the water and dying, which means you can’t refill ink. This makes Flyfish extremely dangerous on high tide Spawning Grounds, which can be tricky without a coordinated team. The other stages – Sockeye Station, Gone Fission Hydroplant, Jammin’ Salmon Junction, and Bonerattle Arena – are generally quite workable. If the stage is one of these, it’s one step closer to being a “good” rotation.
What are the best and worst Salmon Run weapons?
The absolute best weapon rotation in Salmon Run is a gold rotation containing only Grizzco Weapons. That’s kind of a boring answer, though, because gold rotations are fairly uncommon outside of events like Big Run and the like. If we only include normal weapons, the most important thing is that your team can quickly and efficiently ink turf. Weapons like the Sploosh-o-matic, Aerospray, Splattershot, N-ZAP, and Splattershot Jr. fit this description, and if you have one or especially two of these weapons on your team, you’re off to a good start. These weapons can easily take back a given area from dangerous enemies like Flyfish, Flipper-Floppers, and especially Fish Sticks. These Boss Salmonids can ink areas very quickly, which makes you more vulnerable to being splatted by another Boss Salmonid.
However, a full team of weapons that are good at inking won’t be enough to count as a good shift. You generally need some firepower as well! Though it’s incredibly slow, a Dynamo Roller is a great addition to a good rotation. It can effortlessly handle Glowflies/Rush waves, which opens up your teammates to put eggs in the basket while the Dynamo Roller takes out the Goldies and Chums. It’s also able to take out Scrappers, ink Flipper-Flopper circles, and deal big damage to Maws. Alternatively, something like a Splat Roller works too – less damage, but can still put in work on Glowfly waves. For the fourth weapon, a long-ranger like an E-liter 4k or Splat Charger works great. It can pick off otherwise hard-to-reach bosses like Slammin’ Lids, Steelheads, and Steel Eels from afar.
There are some honorable mentions here, too. Explosher isn’t a super-great weapon on its own – it’s slow, doesn’t deal a ton of damage, and has a slow-moving projectile. That said, it has one distinct advantage: it’s the only weapon that can destroy Flyfish without using a Splat Bomb. Indeed, you can simply lob a projectile into each basket to instantly destroy it. No other non-Grizzco weapon can do this, so if you wind up with an Explosher it’s important that you go for Flyfish first and foremost. It takes a lot of pressure off the rest of your team, since they won’t have to use Splat Bombs (and therefore lots of ink) to take out their baskets.
As for weapons that aren’t so good, Inkbrush and Octobrush are a good candidate. They do have some value in that you can run over grates by holding the attack button, but their damage outputs are incredibly low. You need to tap the attack button as fast as you can, which can hurt your finger, and even then the damage you put out isn’t very good. Couple that with short range and you’ve got weapons that are best reserved for putting eggs in the basket rather than clearing enemies. Bamboozler is another weak weapon; it has a short charge time, but deals very little damage and can’t even take out a Steelhead in one shot. This makes it easily overwhelmed, especially by Smallfry and Chums. To sum things up, the best possible Salmon Run rotation includes one or two weapons that are good for inking, plus two weapons with long range or high power. This creates a balanced team capable of taking out every type of Boss Salmonid. If you’ve got a Charger or long-ranger on your team, bonus points if the active King Salmonid is Horrorboros. Your teammates can throw Golden Eggs at its balloon like normal, but you can use a Charger to deal direct damage to it and take it down in record time.
What do you think is the best or worst possible Salmon Run rotation (other than gold weapons)? Feel free to let us know in the comments down below.
In the meantime, Splatoon 3 and its DLC are out now on Switch. You can check out the official website here.