How to use and counter every special weapon in Splatoon 3
Splatoon 3’s content cycle has largely come to an end, which means we may not see any major buffs or nerfs to weapons, subs, or specials. That means it’s as good a time as any to examine each of the game’s special weapons, how to use them most efficiently, and how to counter other players trying to use them against you.
If you haven’t played much Splatoon 3 lately, special weapons are arguably one of the most important elements of any game mode. They’re often responsible for completely turning the tide of battle upside down, especially when used well or coordinated with other teammates. It’s important to at least have a basic understanding of each special weapon you take into battle, and we’ll be going over basic to intermediate tips and tricks today.
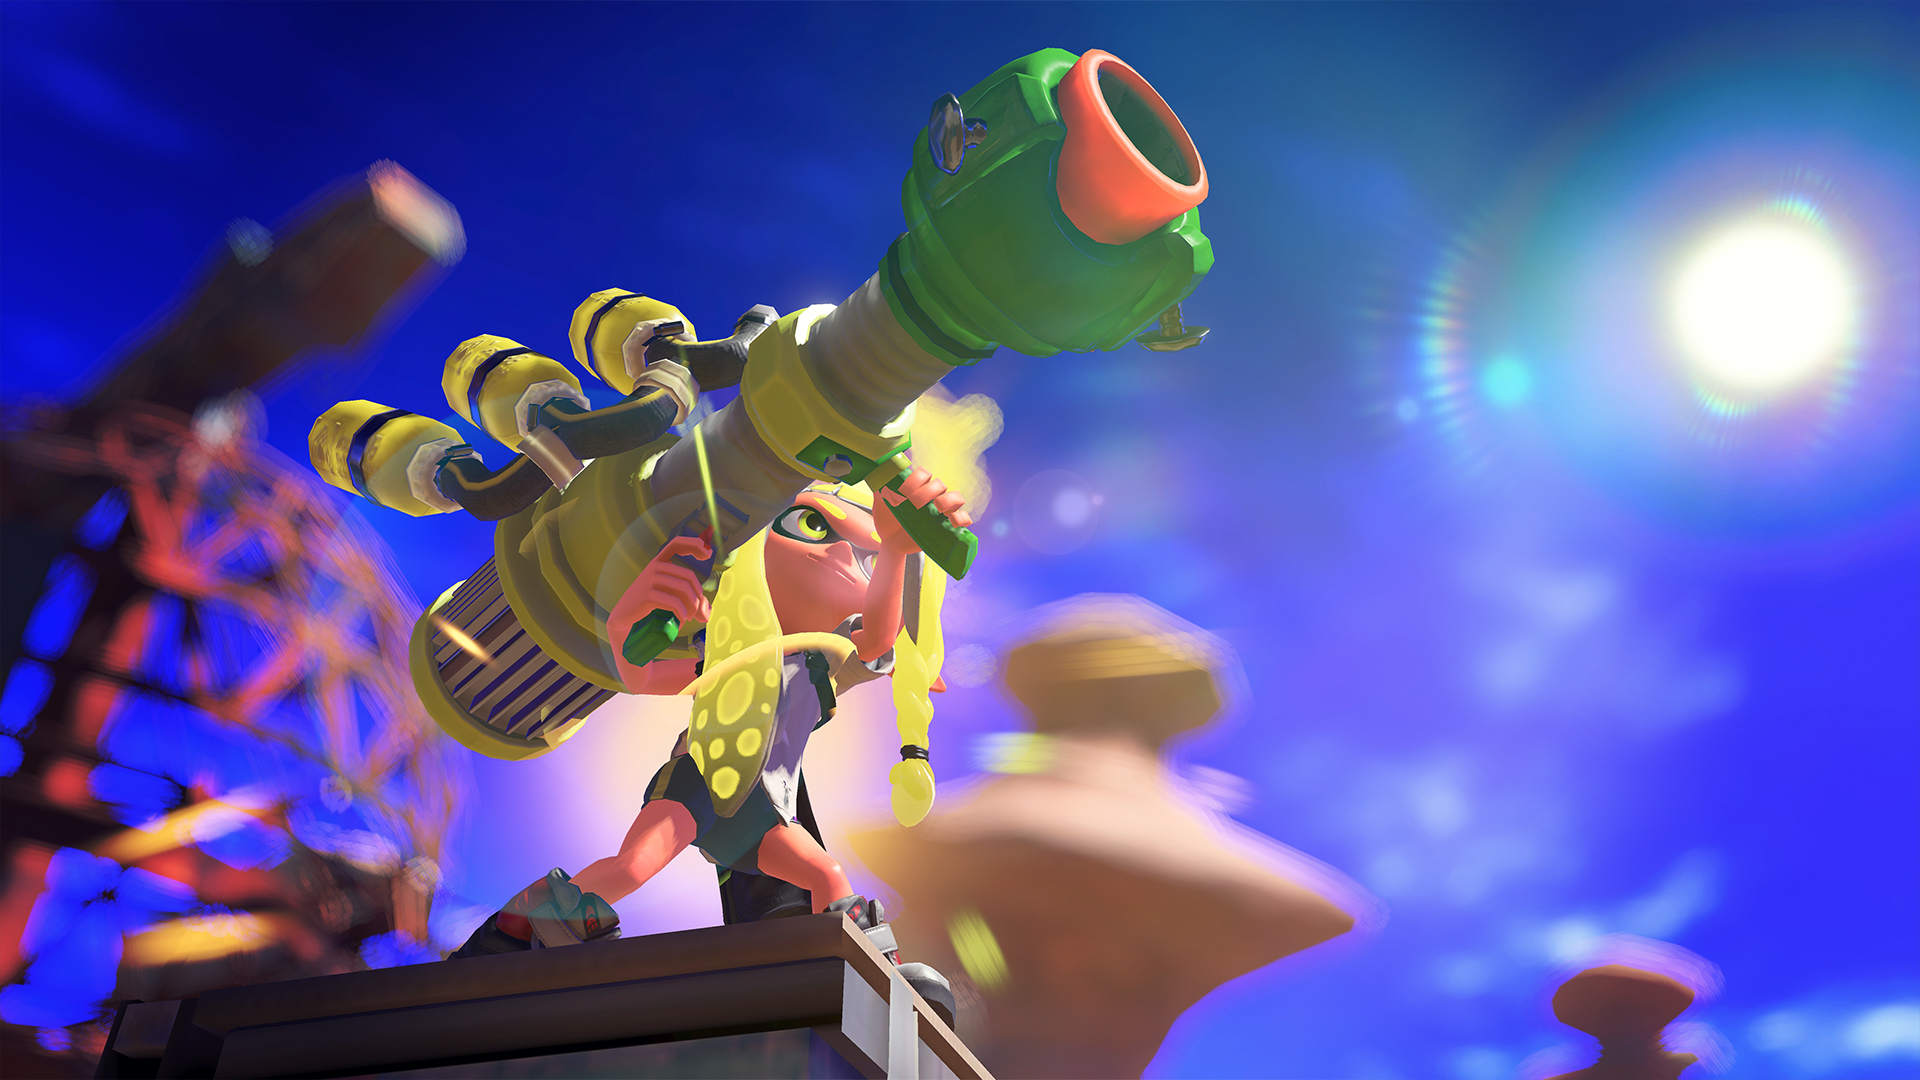
Trizooka
When you activate a Trizooka, you’ll pull out a big weapon that shoots three spiraling ink blasts in a row. They’re shot forward a long distance away in an arc that slowly travels downward, so aiming can be a bit awkward. That said, hitting an opponent directly will splat them instantly, and hitting them with the outside of the shot at least deals chip damage. Your best bet for practice is to try it out in the lobby against the training dummies. Get a feel for Trizooka’s arc and the distance it travels. In battle, it’s good to aim a Trizooka at or near the objective. For example, in Tower Control you can aim your shots behind the tower to splat enemies trying to climb onto it.
In terms of countering the Trizooka, there’s actually not a ton you can do – Trizooka is infamous for being difficult to contest. When an opponent activates their own Trizooka, you’ll hear a shuffling sound of sorts that indicates they’re about to fire. This is your one and only signal to take cover before you’re blasted into oblivion. Either that, or activate a Big Bubbler to protect yourself, but that’s not always possible. Keep an eye on your opponents’ specials (at the top of the screen) so you can know if they’re about to take out a Trizooka.
Big Bubbler
This is a purely defensive special weapon. When you activate it, it’ll create a giant shield at your feet. Enemies can shoot any part of the Bubbler, but hitting the very top of the shield (or the bottom-middle of the shield) deals more damage. Your opponents can walk through the barrier and shoot you, but they can’t shoot through if they’re not inside. This makes the Bubbler great for stopping enemy specials, including the aforementioned Trizooka. Furthermore, the Big Bubbler is great for many ranked modes. In Rainmaker, you can set up a Bubbler next to a checkpoint to protect it as you break it. In Tower Control, you can place a Big Bubbler on the tower to protect your team as you ride it. It’s not quite as easy to use in Splat Zones and Clam Blitz since the best area to place it is less obvious, but it’s still strong when used well.
We’ve technically already mentioned how to counter Big Bubbler: shoot the very top of it. It still has a ton of health, but it takes damage faster if you’re running the Object Shredder ability on whatever shoes you’re wearing. Whatever you do, don’t place a Bubbler in the way of the tower in Tower Control – it’ll destroy it immediately, wasting your special.
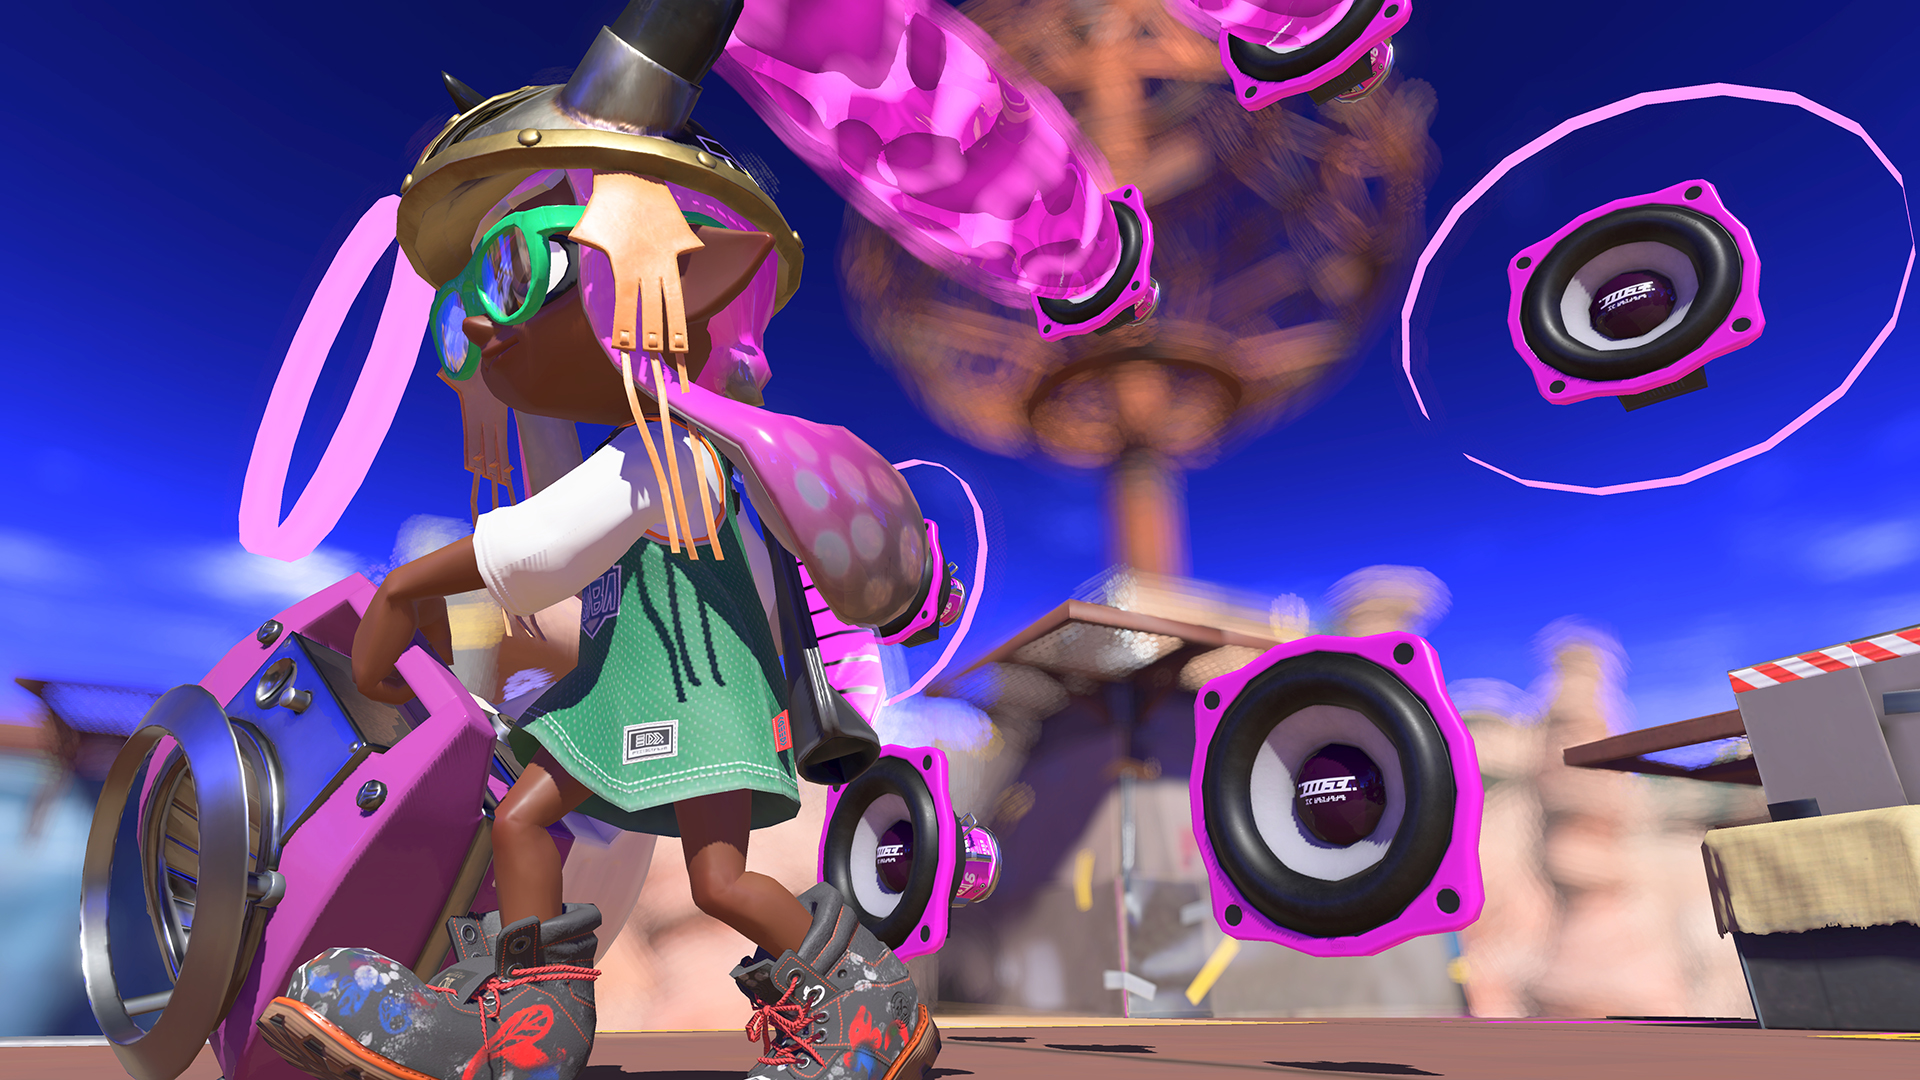
Tenta Missiles
These are infamous for being quite strong in Turf War! When you activate Tenta Missiles, you will be able to target any opponents currently alive and in your general direction. You’ll then fire a bunch of slow-moving missiles at them that ink turf and splat them, if they’re directly caught in the fire. They’re generally easy for opponents to dodge, but they can be trouble for slow-moving opponents like Dynamo Rollers or Splatlings. They can also corner enemies and splat them there, too. Tenta Missiles are arguably strongest in Turf War and Splat Zones, but they have value in other modes as well.
The best (and easiest) way to counter Tenta Missiles is simply to move out of the way. Keep the ground beneath you inked, and remember that slow-moving weapon types are more vulnerable to being splatted by the missiles. Players don’t tend to use weapons with Tenta Missiles as often as they used to, as they’ve received nerfs from Splatoon 2. Not a bad special by any means, but not as strong as it used to be either.
Zipcaster
One of the most complex specials in the game. You may be better off with a more in-depth YouTube guide for this one, but we’ll go over its basic functionality. First, this special is very difficult to use without motion controls. For this special, you’ll extend an arm and use motion controls or the stick to aim at a wall or surface to cling to. Once you land, you can attack with whatever your main weapon is, but the landing impact deals damage too. In fact, the impact does have a small hitbox that splats opponents on contact. When the Zipcaster’s timer ends, you will jump back to where you were when you activated the special.
Zipcaster is something that really takes practice; it’s hard to put it to good use unless you have lots of experience with it. This is another special we’d recommend playing around with in the lobby until you get a feel for how it works. In terms of countering it, look for the Zipcaster’s landing symbol and wait for its user to land. You can splat them from there, but keep an eye out in case they have Drop Roller.
Ink Storm
Ink Storm, on the other hand, is much simpler! You’ll throw forward an ink cloud that drizzles ink in a radius that moves straight ahead. It deals small damage to enemies that adds up over time and makes them easier to pick off with your main weapon. It also inks turf, and if your teammates are inside your Ink Storm, they’ll recover from damage taken a bit quicker. It’s good to use on Splat Zones and in high-volume areas during Turf War. The only thing you can do to counter it, however, is to make sure you’re not within an opponent’s Ink Storm radius.
Kraken Royale
This special turns you into a completely invincible Kraken. While you’re a Kraken, you can press the jump button to perform a short-hop spin jump that deals minor damage to opponents. You can also use a charge attack that will splat enemies instantly, but has a narrow hitbox. That said, it takes a moment to transform into a Kraken and it takes a moment to transform back, and you can be splatted during both transformation phases. Your best bet is to use Kraken from a distance and then swim up to and splat your enemies. It requires good aim, so be sure to test this one out in the lobby. Kraken is great to use on the tower in Tower Control.
Your best bet to counter the Kraken is simply to swim away from it in circles, which makes it tougher for the Kraken to splat you because it can only deal life-threatening damage by charging forward in a straight line. If needed, you can shoot the Kraken with your main weapon (if it has decent range) to keep it at bay. As we mentioned, it’s also very vulnerable when transforming to and from Kraken mode.
Booyah Bomb
For this special, you’ll rise up in the air – press the Booyah! button to charge up a big projectile all by yourself (your teammates can help too). From here, you can aim and throw the Booyah Bomb, where it will ink turf and splat opponents who are within its range. It’s best to aim Booyah Bombs at high-concentration areas where players tend to gather, at the tower in Tower Control, and maybe at the basket in Clam Blitz. The checkpoint in Rainmaker is a good idea, too.
You can just avoid the Booyah Bomb by swimming away, but if you have a weapon with a high rate of fire, you can shoot the opponent while they charge to eventually break the armor and splat them. Great for things like the Hydra Splatling, Heavy Edit Splatling, and more.
Wave Breaker
This is one of the more undertuned specials in the game. You’ll toss out a Wave Breaker that spits out three slightly-damaging waves that travel along the ground. If an enemy is hit, their location will be revealed to your entire team. When the Wave Breaker is first tossed out, it will reveal all nearby enemies’ locations for a brief moment before starting to emit the waves along the ground. Don’t throw the Wave Breaker in front of the tower in Tower Control, as that will destroy it immediately and render it useless.
If you have Object Shredder, you can near-effortlessly destroy opposing Wave Breakers before they can emit a single wave. Even if you don’t have Object Shredder, any weapon that deals lots of damage will do the trick. Just don’t get too distracted destroying the Wave Breaker that an enemy comes up from behind and splats you while you’re busy!
Killer Wail 5.1
Activate this special from a distance, because you’re left vulnerable for a moment if you do so too close to an enemy! Killer Wail 5.1 shoots a stream of long, straight projectiles at an opponent. It’ll target a victim in your general vicinity, and as long as they’re not moving around too much, the Killer Wail will deal consistent damage and eventually splat them. If there are multiple enemies in your general vicinity, targeting works a bit strangely – it’s somewhat based on the position of your camera, and if there are no nearby opponents it will uselessly aim for nothing in particular. The beams that Killer Wail shoots go through walls and obstacles. Generally, it’s best to scope out where the enemy team’s long-rangers are positioned. If you see a Splatling or Charger perched up on a ledge playing the role of a sniper, look at them and activate your Killer Wail to ruin their day (or at least make things complicated for them). Their low mobility will sometimes see them splatted! And though Killer Wail 5.1 isn’t quite as effective on weapons that can run away from the beams, it’s still possible to get a splat on them if they’re already standing in enemy ink. Likewise, the best way for you to avoid a Killer Wail is simply to run away from it. If you’re a Splatling or Charger, keep an eye on your opponent’s special gauges and be ready to move if you’re targeted.
Inkjet
Inkjet is one of the stronger specials in Splatoon 3, but it’s also one that takes a bit of getting used to. Much like the Zipcaster, the Inkjet is probably best for players who use motion controls. Upon activation, you’ll begin levitating in the air a great distance above other players. You can enter swim form to descend, and when you release it, you’ll begin levitating again. All the while, you’re able to shoot out a unique projectile that explodes on impact, damaging or splatting any nearby enemies. You only get so many shots, and they don’t fire very fast, but if you’re good at maneuvering yourself in the air, you can get a lot of value out of a single Inkjet. When the special ends, you will jump to where you were when you activated the Inkjet. We’d recommend running Drop Roller here (a shoe-exclusive ability), as it’ll let you perform a dodge roll as soon as you land from your Inkjet. Generally, we’d recommend flying as far out of reach of your opponents as you can while still having them be within your fire range. Remember that you can enter swim form to change your height and throw off your enemies’ aim.
Countering Inkjet can be difficult, as it’s sometimes tough to properly aim for them while they’re airborne. Still, Chargers and Splatling who are out of the Inkjet’s range can pick them off from afar. If you’re a short-ranger, there’s nothing stopping you from going underneath them and splatting them. Be mindful of where they’re looking and try to take them by surprise, because once the Inkjet sees you it can prove challenging to get away. You’ll also want to keep an eye on their landing spot; you can simply wait there and splat them when they jump back. Just be mindful of Drop Roller – when they land, they may dodge roll in a certain direction.
Ink Vac
A tad more situational than other specials, in the sense that it really benefits from team coordination. When you activate Ink Vac, you will begin siphoning all of your enemy’s ink attacks. The more of their attacks you absorb, the more your meter fills up. When the special ends, you will fire out a projectile at the location you are aiming for. Its size depends on how full your meter was, and at full charge, the resulting projectile’s explosion will be absolutely huge. This is perhaps most useful in Splat Zones, where you can aim at the zone itself while denying enemies the opportunity to splat you or ink the zone. You can also slightly aim the siphoning, as well as slowly change direction yourself.
Unfortunately, this special has many weaknesses. While you’re siphoning or shooting, your back is left completely exposed, so all it takes to end your special is an enemy swimming up behind you. With that in mind, it’s best to use Ink Vac when your back is against the wall. If you can coordinate a teammate to protect you, it works out even better! Enemies can also choose to not attack, thus preventing you from filling up your meter and reducing the size of your counterattack projectile. If you’re caught in an Ink Vac’s siphoning, your movement speed will be reduced. Stay out of its suction zone, swim around the user, and splat them from behind to dispatch them quickly. Watch out to make sure they don’t have any teammates nearby!
Ultra Stamp
When you activate Ultra Stamp, you will be able to hold the attack button to hammer the ground in front of you via a charge attack. The charge attack has a huge hitbox, splatting any opponents caught within. You also have a bit of armor that can sometimes save you from getting hit or splatted yourself. You can also choose to stop using the charge attack and instead opt to throw the Ultra Stamp, which is great for getting rid of Splatlings or Chargers trying to take you down (though throwing it does leave you vulnerable, since the throw isn’t instant). The key to mastering Ultra Stamp is making sure you’re not vulnerable in front of any opponents. When you first activate the special, you’re forced into about a second of start-up lag, which is often enough for a short-ranger to intercept and splat you. We recommend activating it from afar, entering swim form to come closer to an opponent, and then moving forward with the charge attack. You can also perform a jump swing; it has a smaller hitbox and hitting it can be finicky, but it’s faster than a charge attack. In general, don’t be afraid to enter swim form with this special. Ultra Stamp can’t move very far left or right while charging, and you’re completely vulnerable from the back, so it’s completely okay to swim around and reposition.
To counter Ultra Stamp, you’ll obviously want to swim away first and foremost. Remember that it can pretty much only travel straight forward with a very slight left or right curve, so your best bet is to swim around it rather than directly away from it. The Stamp user can also be attacked with weapons from any angle, though you have to precisely aim for the Inkling or Octoling and not the hammer.
Reefslider
This is another special weapon that works really well in Splat Zones! When you activate Reefslider, a set of rails will appear on the ground in front of you, slightly inking that turf. You’ll then move forward along the rails, and you can press the ZR button to trigger a big explosion that splats anyone nearby. You can also choose not to press the ZR button, in which case the Reefslider will go its maximum distance before exploding. The explosion will sometimes take back a lost Splat Zone immediately, unless the stage in question has two Splat Zones or an especially large one. There’s also a moment of vulnerability after the explosion, so you’ll often find yourself splatted directly afterward if there are survivors. Whoops! If you’re facing an opposing Reefslider, that’s also your opportunity to rush in and splat them after dodging the blast.
Crab Tank
Crab Tank is a complicated special, sort of in the same category as Zipcaster. You’re probably better off watching an in-depth YouTube guide or something of the sort if you really want to learn the ins and outs of this weapon, but we’ll at least go over the basics! Upon activating the special, you will enter a Crab Tank that moves quickly if going left and right, but slowly if going forward and backward. You can press the ZL button to turn into a ball, which leaves a trail of ink behind it and provides protection from attacks. If the crab takes too much damage, it will disappear and the special will end. You’re also able to take damage if someone targets you and not the tank, in which case you will be splatted and the special will end. This makes the Crab Tank very vulnerable and prone to being destroyed if used up close, so you’ll definitely want to use it from afar.
It has two firing modes. You can hold ZR to charge up a constant stream of ink beams that reach incredibly far, and after a few seconds of warm-up they’ll start dealing incredibly high damage to anything in their range. This can be used in a pinch to ink turf, too, as well as snipe your enemies from afar. You can also press the R button to launch bomb projectiles that explode on contact and deal chip damage to opponents. If your enemies are hiding behind walls or cover, the bomb projectile is the better option. If your enemies are within your line of sight, the rapid-fire mode is better. Crab Tank loses to several things, though: most other specials will either destroy it or splat you outright, opponents with Object Shredder will destroy the Crab Tank very quickly, and anyone behind you or to the side of you can splat you easily. It’s very important to be aware of your enemies’ locations, and maybe even have a teammate cover you just in case.
Tacticooler
This is one of the strongest specials in the game (if not the single strongest). Upon activation, you will throw a Tacticooler with four drinks, one for each teammate (a given teammate can only drink one drink per cooler). The Tacticooler is completely invincible and sticks around for a while, giving off a little jingle to signal teammates to come over and take a drink. Once consumed, your run speed, swim speed, Super Jump speed, respawn speed, and ink resistance increase by a huge amount for about 20 seconds. Your aim is also steadied and you keep your special meter intact after being splatted. Essentially, this means if you’re splatted after drinking from a Tacticooler, you will receive almost no penalty whatsoever, both in terms of respawn time and special meter. We recommend throwing Tacticoolers into the action instead of away from the action; that way you can subtly nod your team into pushing forward. And if they’re splatted, they come back right away with their special meters intact, so they can respawn and use their own specials right away.
Don’t put the Tacticooler in front of the tower in Tower Control, as the tower will completely destroy the Tacticooler. Teams with Tacticoolers are generally best off running several frontliners or mid-rangers, as the point of the special is to charge into enemy territory with little fear of being splatted. That doesn’t really apply to Chargers or Splatlings, who generally want to stay far away to get the most out of their weapons. The Snipewriter is a particularly excellent weapon that paints a lot and can throw Tacticoolers from its perch down into the fray.
Triple Inkstrike
When you activate this special, you will lose the ability to enter swim mode, use your main weapon, or use your sub weapon. You’ll regain these abilities after throwing three marker balls. After you throw these, they will soon explode into Triple Inkstrikes that create large, cylindrical projectiles that splat nearby opponents. Players in Splatoon 3 often use Triple Inkstrikes far too close to enemies, and they have no way to defend themselves because the Triple Inkstrikes don’t come out fast enough to splat enemies trying to take you down. Therefore, we’d recommend activating it from a distance. In modes like Tower Control, try throwing them parallel with the way the tower is going. And don’t throw them all at the same place!
Super Chump
Super Chump doesn’t provide a ton of offensive firepower, but it does bring a good bit of utility. It’s perhaps best used in Splat Zones and Turf War. Upon activation, you’ll fire tons of Super Chumps at the designated area. These appear as little balloons with smiley faces on them. Opponents can fire at the Super Chumps to destroy them instantly, but if they are not destroyed, they will eventually explode and deal decent damage capable of taking out enemies who have already taken some chip damage. They also ink a lot of turf if left unchecked, which is why they’re definitely better in Splat Zones and Turf War. And Splatfests, too! Some players might focus on shooting down the Super Chumps, which makes them less likely to notice you if you sneak up from behind and splat them.
If you’re trying to counter Super Chumps, shoot the ones near you that are about to explode so you don’t take damage. You can always re-ink the area they claim, even if you don’t manage to destroy every single Super Chump. Be mindful of enemy teams trying to push forward while you’re busy shooting down the Super Chumps, and don’t let them get the jump on you.
Triple Splashdown
Triple Splashdown is miles better than the regular old Splashdown seen in prior games, but it’s still one of the weakest specials in Splatoon 3. Press the button, and you’ll rise up into the air for a moment. After a second passes, you and two ink fist projectiles will slam down on the ground, splatting anyone nearby and inking some turf too. You and the two fists are vulnerable to attack during the entire special, meaning you will often be splatted when playing against highly skilled opponents. Still, if you get splatted, the two fists will still crash down and can score sacrificial KOs. They can be shot down too, but it’s rare that a player is actually able to splat you and both fist projectiles all in one go. If anything, Triple Splashdown is almost better as a free ink tank refill.
This special activates slow enough that main weapons have a chance to shoot you down, but it activates fast enough that opponents right next to you may not be able to run away in time. If you find yourself getting splatted by lots of Triple Splashdowns, keep an eye on your enemies’ specials at the top of the screen. If one’s active, you’ll know not to get to close to your opponents lest they pop a Triple Splashdown and take you down with them.
Splattercolor Screen
Splattercolor Screen is one of the final special weapons added to Splatoon 3, and it’s also one that caused some controversy before it was eventually changed (but not entirely fixed) via an update. When you activate this special, you toss forward a giant screen that very slowly moves forward and deals minor damage to anyone (or anything) it comes into contact with. Enemies who make contact, however, lose the ability to see color via something of a flashbang effect. The idea is that they won’t always be able to tell whose ink they’re standing in, and the general confusion resulting from the screen will make them vulnerable enough for you to take out with your main weapon. It’s not impossible to navigate while under the effects of a Splattercolor Screen, but it’s not quite easy, either. Splattercolor Screen also is not transparent, meaning neither your team nor the opposing team can see what’s on the other side of it. This can be good or bad depending on the situation. One on hand, you could place a bomb behind a Splattercolor Screen so that any enemy trying to pass through gets splatted because they didn’t see the bomb. This works in reverse, too, and Chargers and Splatlings can shoot directly through the screen to splat you (though they probably won’t be able to see through the screen, either).
Like we stated earlier, the Splattercolor Screen moves very slowly. If it all possible, avoid making contact, but if there is no other option, don’t be afraid to head in anyway. Try to get the screen out of your line of vision so you can quickly get your bearings after passing through. Plus, keep a lookout for sneaky bombs! Screen is used well when it’s placed in a way that forces opponents to pass through, such as at Rainmaker checkpoints, in front of the Tower Control tower, and the like.
That’s our big breakdown of every special weapon in Splatoon 3 – how to use and counter each one. Despite the guide’s length, this is still a relatively basic set of instructions for each special. Some of them, like Tenta Missiles and Triple Splashdown, are fairly simple and don’t need a ton of explanation. Others, like Crab Tank and Zipcaster, have plenty of hidden depth that requires many hours of practice to fully master. What’s your favorite special weapon in Splatoon 3, and are there any you want to see cut or removed from Splatoon 4 (whenever it comes out)? Feel free to let us know in the comments down below, and check out our full list of Splatoon guides while you’re at it.
Splatoon 3 is available now for Nintendo Switch. Visit the official site here.