Donkey Kong Bananza Emerald Rush strategy guide – best perks, tips, more
Emerald Rush is Donkey Kong Bananza’s new DLC mode, and it’s extremely difficult. The first few difficulties are no problem at all – but play the highest difficulty, and you’ll see that the emerald quotas Void Kong is looking for quickly become absolutely insane. They also last 15 rounds, which means a run of Emerald Rush’s toughest challenge will often take over 30 minutes. And you’re not even guaranteed to win! If you’ve been struggling to tackle those higher difficulties, you’re in luck – I’ve been playing this mode for between 15 and 20 hours and have gathered a whole bunch of helpful tips. To start, here’s a very important tidbit: this mode is almost completely dependent on RNG. That is to say, even if you do everything right, you can still lose just because the game decides it so. So even with these tips, you may still have a bit of trouble – but they’ll definitely make you a much better player.
What is Emerald Rush?

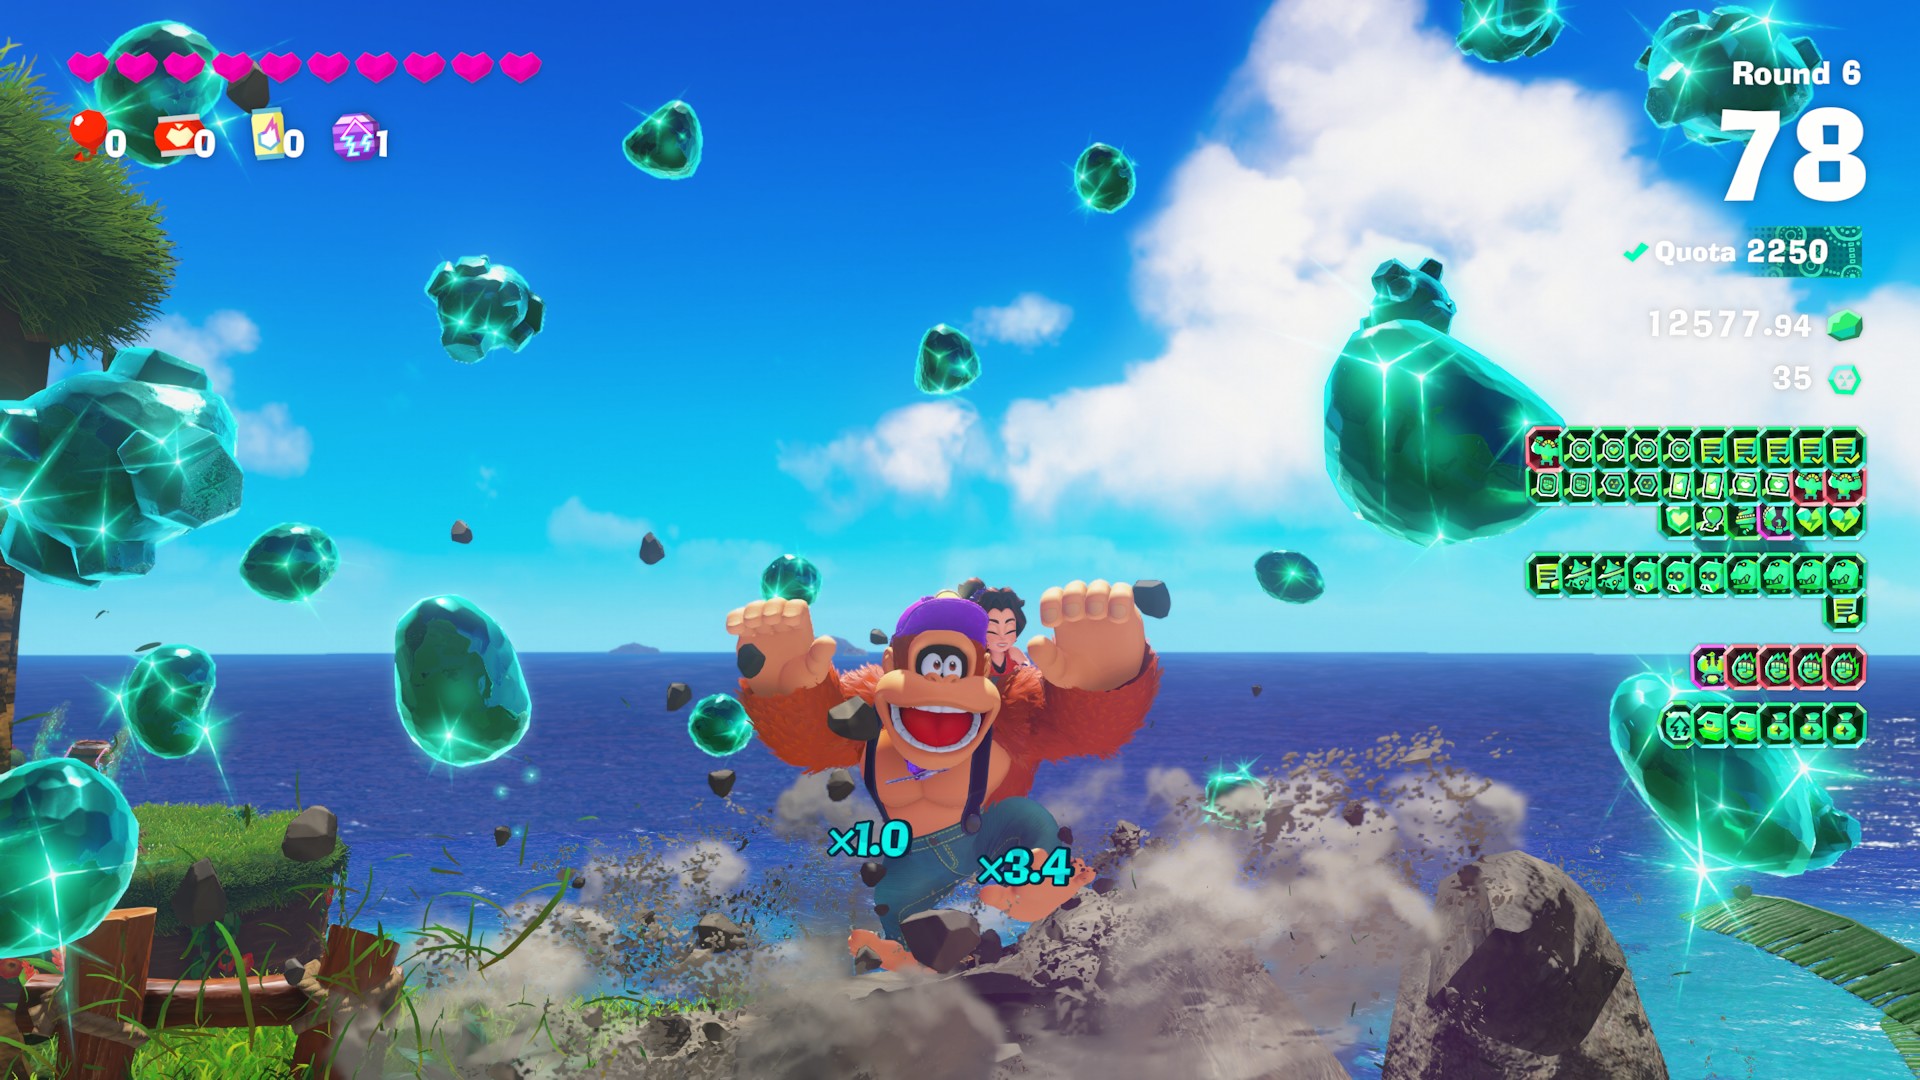
For the purposes of this guide, I’m going to assume you know how to play Emerald Rush already. But if not, here’s a quick recap: each round lasts 100 seconds, and you have to collect a certain number of emeralds during each round. Void Kong also gives you goals that, when fulfilled, earn you additional emeralds and perks. You also unlock perks every time you smash a yellow Banandium Gem or a fossil. A perk is basically a multiplier that increases the number of emeralds you earn by completing certain tasks. It’s also important to note that DK will lose all of his skills during an Emerald Rush, and smashing Banandium Gems or spending Banandium Chips that you earn in-game are the only ways to get them back. Each time you finish an Emerald Rush, you will earn points on your profile that unlock new layers and perks. Unfortunately, a lot of these perks are bonuses for certain Bananza forms. For example, you can unlock a perk that slows the timer when you use Snake Bananza to slow down time. Problem is, you don’t start Emerald Rush with Bananzas on the higher difficulties – you have to unlock them, and it’s up to RNG whether the Bananza you want will be available. This is going to be a common theme throughout this guide – while you can refresh the perks that appear and block certain ones from appearing, you will still need good RNG to get through some of the tougher layers.
Generally speaking, I would advise against spending emeralds to refresh your perks if you’re playing on higher difficulties. For difficulty 7 (the toughest one), you can usually tell if you have a shot at winning or not by the 7th round. The first couple of rounds have quotas that drastically increase from one round to the next, such that spending 50-200 emeralds refreshing perks can put you too far behind. If by the first couple of rounds you notice that you’re not getting any good perks, it’s probably better to simply restart than to tough it out and waste more time. It’s also important to note that you start with no Bananzas and no warp barrels on later difficulties. Normally, you will want to pick a specific Bananza form to focus on for that run and then pick a bunch of bonuses that make it a lot stronger. You’ll also want to pick Barrel Bump-Up any time it comes up. It’s arguably the best perk!
The best Emerald Perks
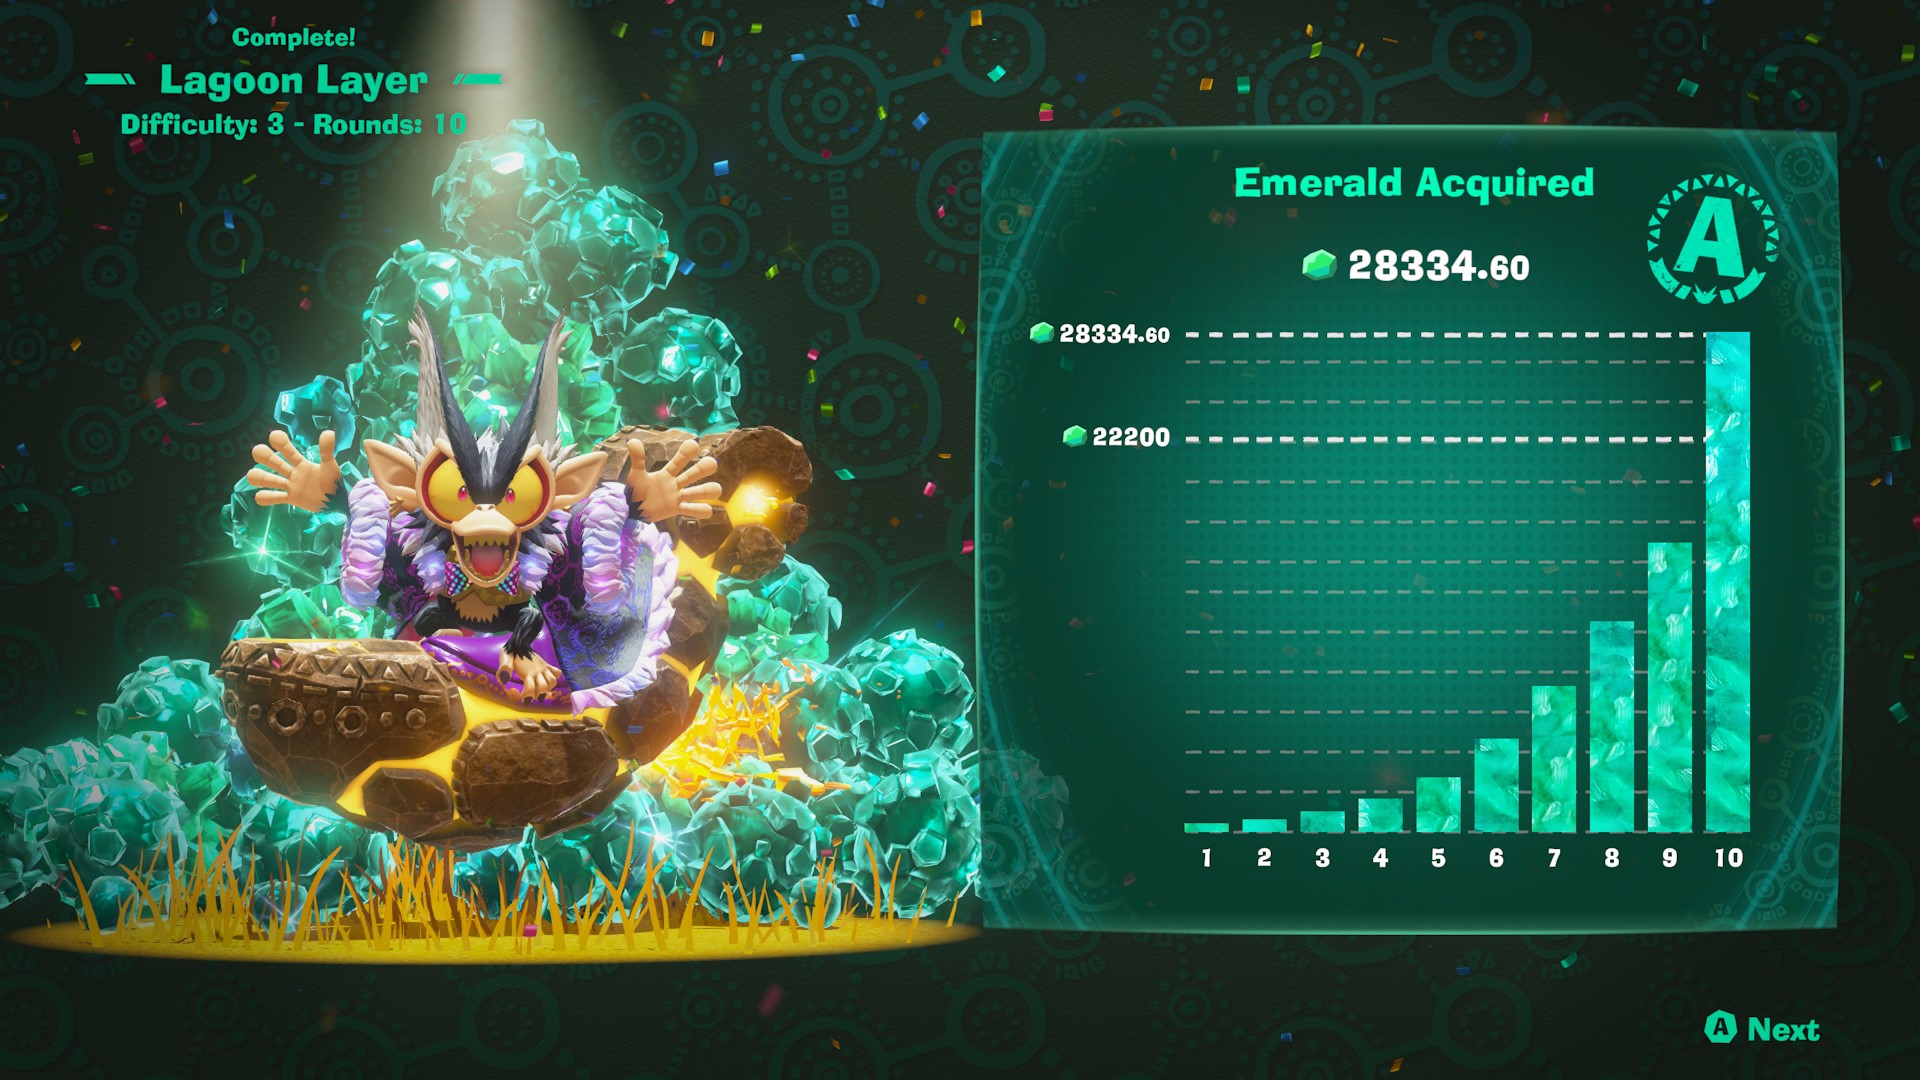
So as we just mentioned, Barrel Bump-Up is the best emerald perk and you should always pick it when it comes up. But what about afterward? It depends on the layer, pretty much. The most important part of Emerald Rush is actually a Peekaboopoid, which is a little colorful octopus enemy that spawns in great numbers. Any layer that has lots of Peekaboopoids is going to be much easier to clear. If the layer in question has Peekaboopoids (Lagoon and Landfill have a ton of them), you should focus on stacking perks that increase the emeralds you get when you defeat enemies. Peekaboopoid Demolisher is a really strong skill on these layers, but you can also level up the skill that gives you more emeralds when you defeat enemies by throwing or swinging chunks to really pile on bonuses. Combine this with Perk Champ, Goal Champ, and other multipliers, and you can end up with ridiculously powerful combos that have you swimming in emeralds in no time.
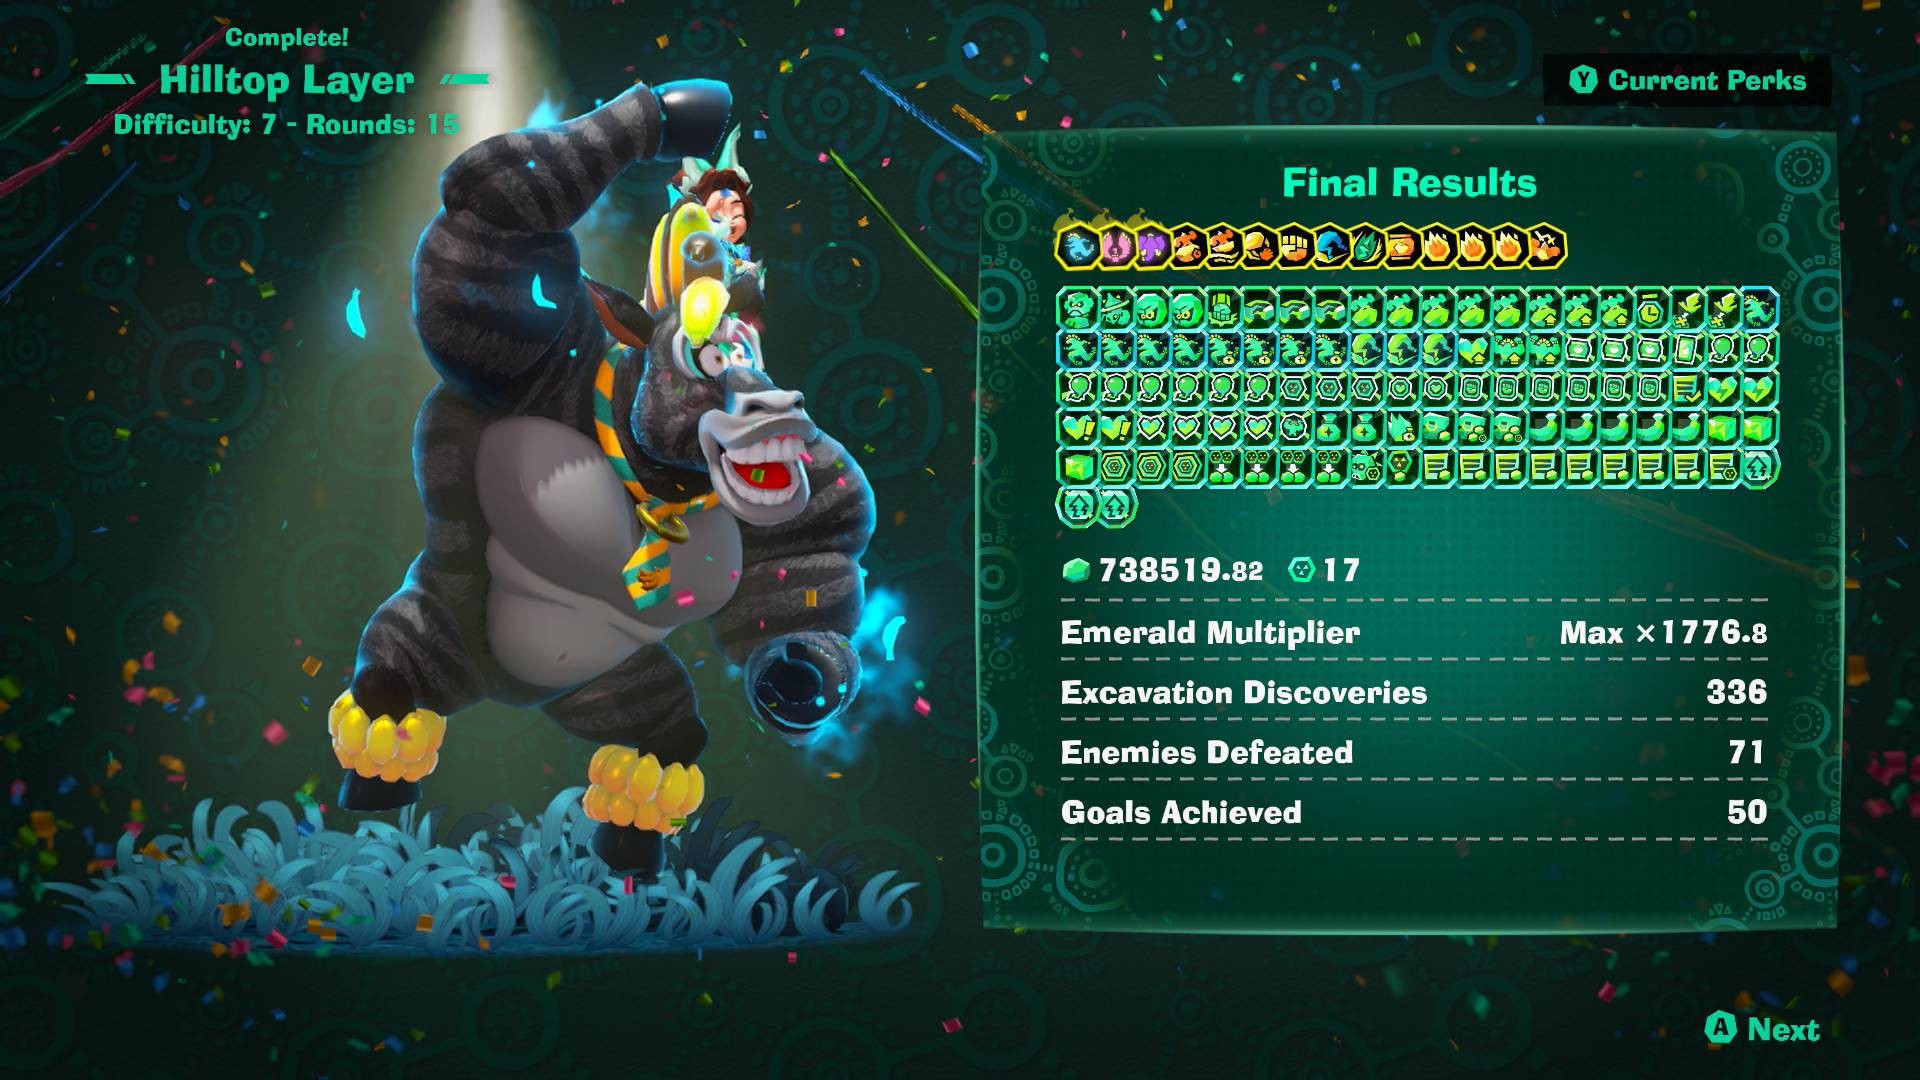
If the layer in question does not have Peekaboopoids, though, it becomes much tougher to secure a win. Hilltop Layer is particularly brutal because there are very few enemies to defeat outside of Void Goals. It’s important to note, though, that any normal enemies you see in Emerald Rush will actually respawn after you defeat them, which means you can farm them over and over again if you have perks that increase the emeralds you get from enemies. Another good strategy is to have a ton of Chips. There’s a perk that lets you earn chips from defeating enemies, and as you might expect it goes crazy in levels with Peekaboopoids. There’s also a skill that automatically farms emeralds for you if you have a ton of Chips, which comes in handy. The best skill in the game other than Barrel Bump-Up, though, is Smelting Green. This converts all of the Chips you have into emeralds, and if you have a few hundred chips, you can turn that into over 100,000 emeralds in just a few seconds. It’s an absolutely ridiculous and clutch way to win on the max difficulty, but it’s not guaranteed to appear – hence the RNG element of Emerald Rush.
Void Goals
Void Goals are another important part of Emerald Rush. They’re extremely important, especially for layers that don’t have many enemies. At first, they will only earn you about 150 emeralds. But the Emerald Negotiator perk increases that number, so I would recommend picking it whenever possible unless Barrel Bump-Up is there. Other bonuses can increase the number of emeralds you get by clearing Void Goals too, so once you stack on a whole bunch, you can find yourself getting between one and two thousand gold just for clearing one. More importantly, though, Void Goals spawn consistent enemies. Some Void Goals are hitting a checkpoint, high-fiving a character in the level, or smashing emerald lumps, but a lot of them spawn enemies like Stompoids and Buzzoids. You can get goals like Stompoid Demolisher and Buzzoid Demolisher to earn even more emeralds, and the bonus that increases your emeralds if you defeat an enemy via turf surfing is especially strong and has a huge multiplier.
After each Void Goal, you will have the chance to pick a perk. Earlier, I mentioned you will want to focus on one Bananza for each run. Usually, this is going to be something like Elephant, Zebra, or Snake. Elephant can suck up lots of terrain, making it great if you have bonuses like Balloon Hoarder and want to find treasure chests that contain more balloons. All of the hoarder bonuses are really good, in fact, so make sure to pick them too. Zebra can run on water and generally moves much faster than any other Bananza, making it ideal for small layers like Hilltop or ones like Resort with tons of water. Zebra also isn’t slowed down by mud, which is another bonus. If you’re focusing on Zebra for a layer, you will want to pick bonuses that increase the emeralds you get from staying in that form, and from defeating enemies in that form as well.
You’ll also want to block the bonuses for Bananzas that you know you won’t be using. That doesn’t mean you can’t unlock those Bananzas if you see bananas that contain them, but you will still want to stick to one transformation most of the time. Blocking perks is a great way to increase your chances of really good perks appearing. And in later rounds where you have tons of emeralds and tons of chips, you can afford to refresh bonuses and block perks if needed. I just recommend avoiding that early on because emeralds and resources are much more limited.
Miscellaneous tips
I have a bunch of other tips here that don’t really fit into any other category. First up, use all of your Warp Barrels every round if possible. They save so much time going between Void Goals and can honestly be the difference between winning and losing. You can use any of the new Void clothing options you earn from Emerald Rush to increase the appearance of rare perks, which also means Barrel Bump Up will appear more often as well.
If you can’t find any Bananza forms, the Ba-None-Za bonus is a decent substitute. It has a really high multiplier, but usually I would recommend going for a single Bananza focus – Zebra’s ability to run on water and through mud is extremely helpful and can’t be fully replaced by a perk. You can, however, unlock the Surf Surf skill early on using Chips to increase the speed of your water transportation. I also recommend unlocking the Better Turf Surfing skill if you’re on a big flat level. Fossil Radar is also a good idea if you’re unfamiliar with the layout of the level – you want to smash as many fossils as possible to get as many perks as you can.
That about wraps up my guide today! If you have any of your own tips for this tough mode, feel free to leave them down below. As a side note, I’ve cleared the highest difficulty of Emerald Rush on a bunch of different levels, including Lagoon, Hilltop, DK Island, and Landfill. So while these tips may not guarantee you a win every game (since this is a very RNG-filled mode), they’re sure to bring you closer to victory. In the meantime, you can read more about Emerald Rush on Nintendo’s official website.