How to play Splat Zones in Splatoon 3
Splat Zones is perhaps the most competitive of the ranked modes in Splatoon 3. A decent chunk of top-level tournaments are actually held in this mode, which means you’re a bit more likely to find higher-skilled players practicing it on the ranked ladder. Today, we’ve written up a guide aimed at casual players and beginners explaining the ins and outs of the mode.
What is Splat Zones?
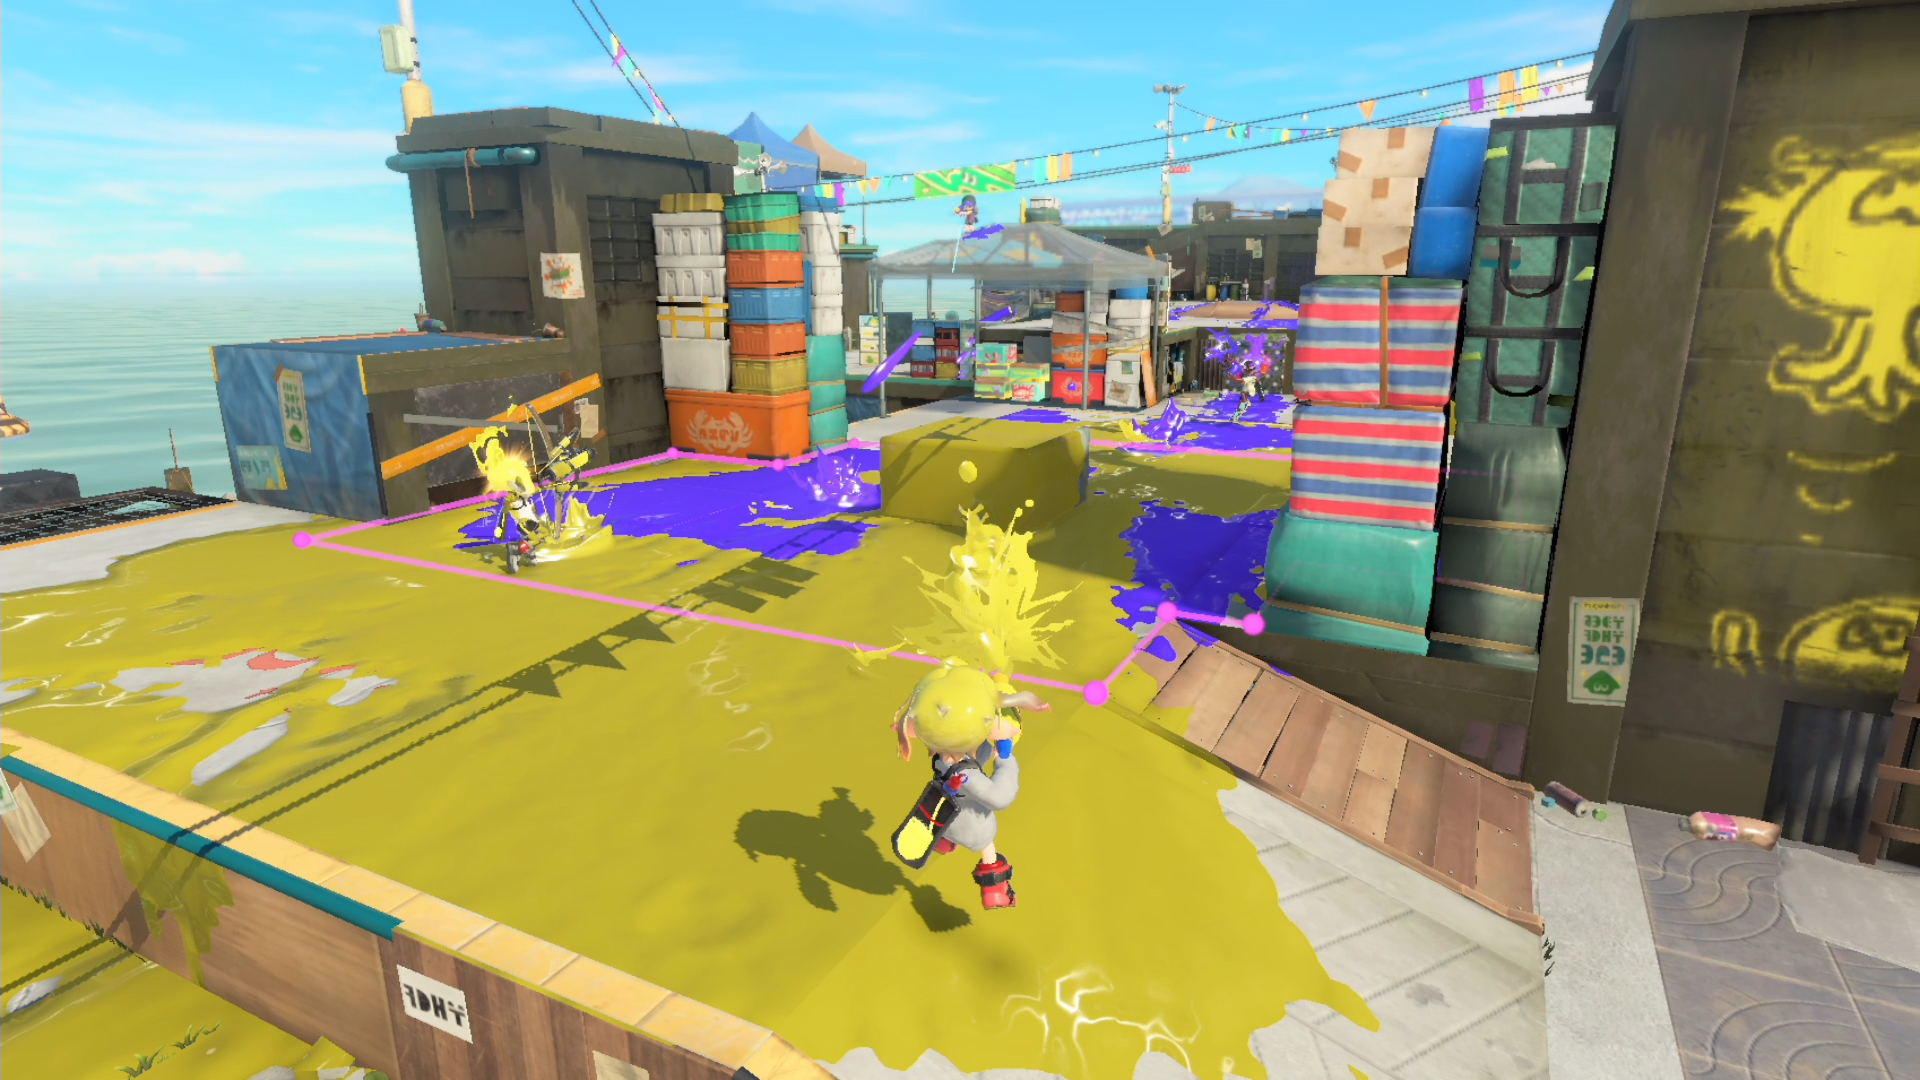
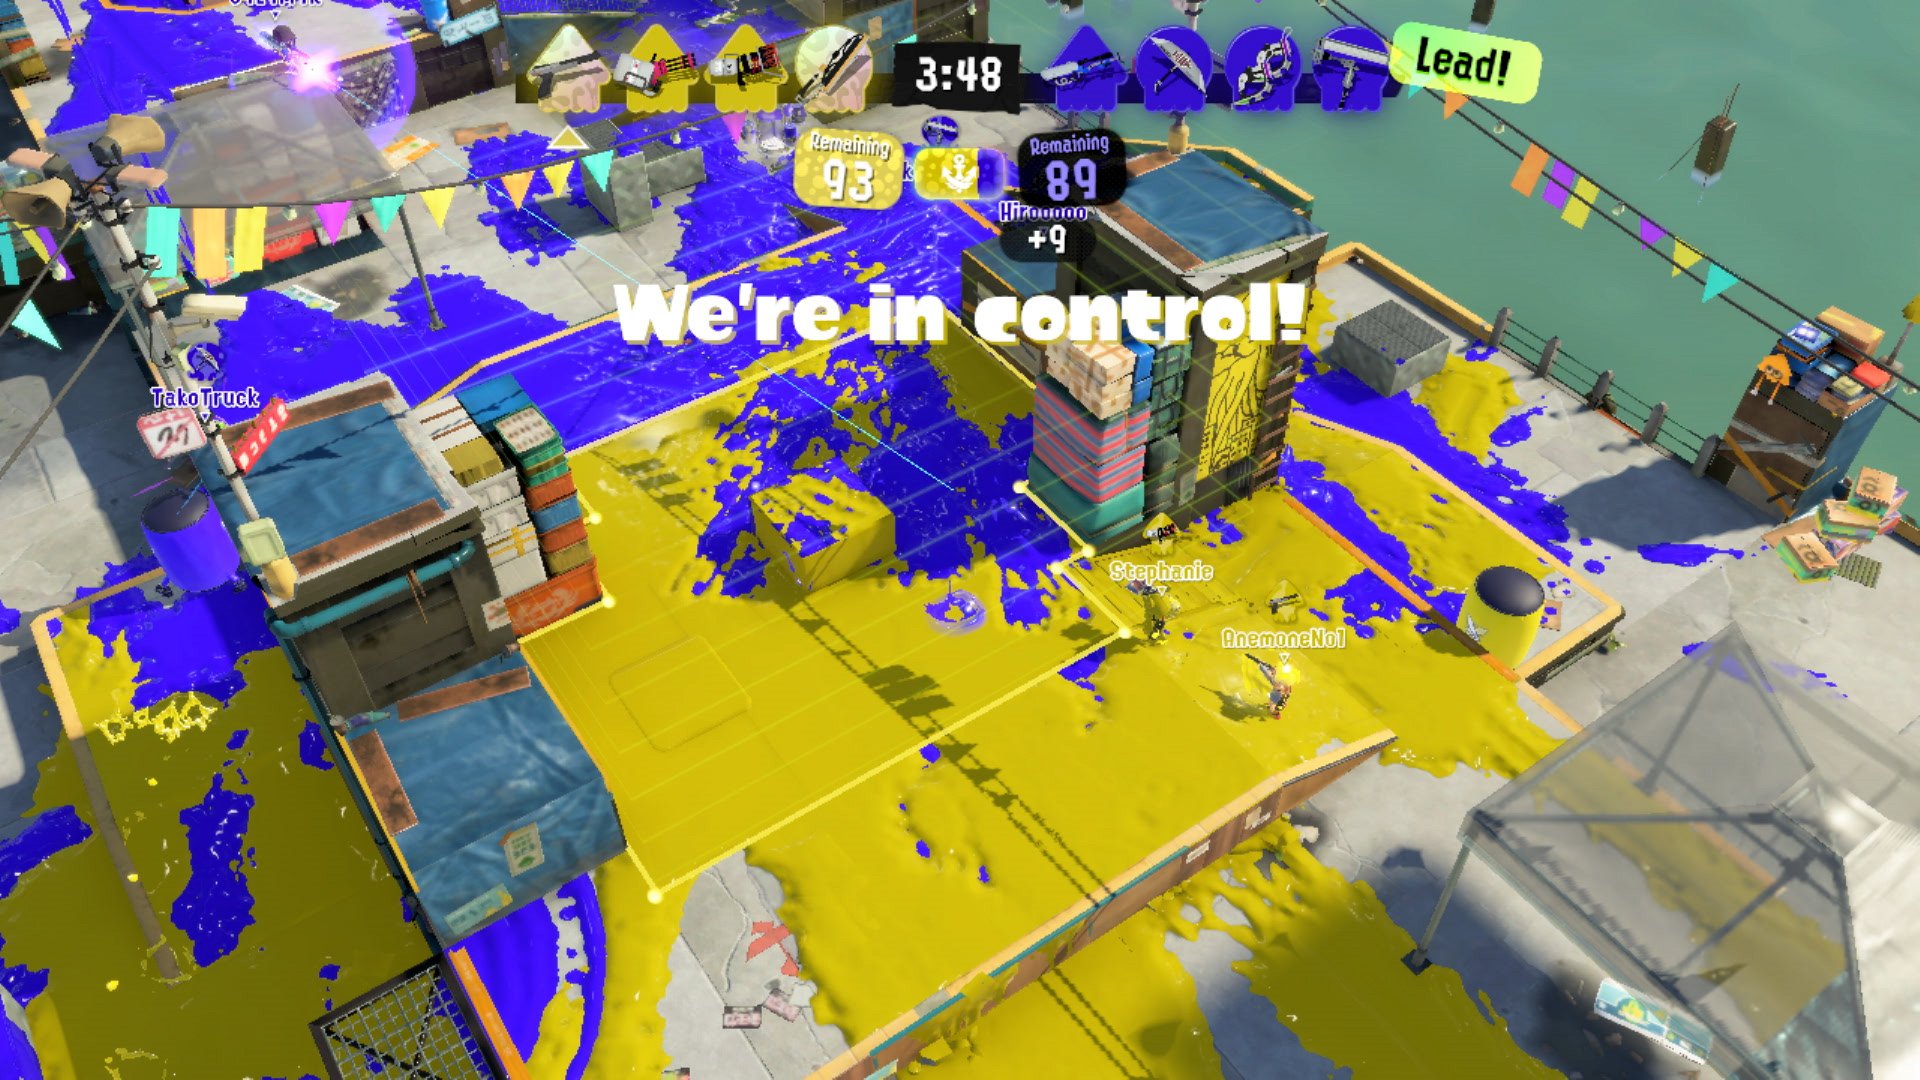
In Splat Zones, the stage you’re playing on has either one or two of the aptly-titled Splat Zones. The object of the game is to fill all present zones with your ink – when the majority of the zone has been inked in your color, your team gains “control” and starts earning points in the form of a timer that counts down. When that timer reaches 0, your team wins. However, the other team will be trying to ink the zones, and they can gain control to earn points themselves. When the opposing team does gain control, your team will receive a point penalty and vice versa. All this means is that it’ll take at least a few seconds of zone control before you start earning points again.
Given the fact that the zones generally don’t move around much (if at all), Splat Zones is a rather static mode. This makes backliners an excellent choice here! On the other hand, though, if you’re a frontliner, it means you’re probably going to get splatted by chargers more than a few times. It’s important to be on the lookout for a charger’s line of fire – in Splatoon 3, it’s indicated by a tiny straight line of the enemy’s ink color. If you see one touch you, you might want to make a quick retreat before you get splatted!
What weapons are best here?
A few particular specials are a bit stronger in Splat Zones. Though it’s still not the best in the game, Ink Vac has increased utility here compared to other modes. For this special, you’ll pull out a vacuum that nullifies and absorbs incoming fire. At the end, you’ll shoot out a giant projectile that can cover and immediately gain control of a Splat Zone. The catch is that you’re vulnerable from behind, so try your best to use Ink Vac backed into a corner or surrounded by teammates who will protect you. In a similar vein, Reefslider can be used directly on the Splat Zone to create a large explosion that immediately takes back control of the zone. Though thanks to its large ending lag, this is just about all Reefslider is good for here.
Like we mentioned before, backliners and long-ranged weapons work great in Splat Zones. Snipewriter in particular has a surprisingly strong ink output, letting it quickly regain control of a zone if left unchecked. It can also toss a Tacticooler into the zone to encourage teammates to push forward while increasing their stats and respawn time. The Hydra Splatling works well here too if you can find a safe spot to stand, and it can toss Booyah Bombs into the zone to force enemies out of it for a moment. On the contrary, weapons with the Killer Wail special will see a bit more value here – given how strong backliners are here, the Killer Wail can force them to stop shooting and run away for a few seconds (or splat them outright). Generally, as long as your weapon can ink the ground quickly, you’re good to go here. Even if your weapon can’t ink fast, it’s perfectly fine to use it if the rest of your team can handle turfing for you.
General tips and tricks for Splat Zones
Since the object of Splat Zones is to keep the zone painted, one thing you’ll want to do is make sure the surrounding area is well-inked, too. You can’t expect to camp out inside the zone forever since the enemy team will eventually try to push forward and splat you. At the beginning of the match, you’ll see most players head right to the zone and try to ink it up. That’s fine! But it’s also fine to hang back and ink your base to charge up your special ahead of time. One thing you’ll notice in Splat Zones is that opponents in control of the zone will often team up and work to spawn camp you and your team to prevent you from inking. As rude as spawn camping is (and as strikingly unfun as it is to experience), it’s often the best way to prevent the opposing team from inking a path to the zone and taking it back from you.
It’s also a good idea to know the role your weapon plays. If you’ve got a Curling Bomb sub plus Ninja Squid equipped, then it’s your job to sneak up on opponents and splat them before they can ink too much turf. If you have a special like Triple Splashdown, Booyah Bomb, or Ink Vac, then it’s your job to charge up that special and throw it at the zone to force the enemy to retreat for a moment. If you find that spawn camping is a problem for you and your team, well-hidden Squid Beakons are a good way to circumvent that. A highly-competitive team will notice and take out Beakons at once, but some random teams on ranked occasionally fail to notice them altogether. Your mileage may vary!
If you’re not spawn camping or getting spawn camped, then you’ll have to deal with enemies trying to take back the zone by force. Coordinating your specials with your team is a great way to push them back and remain in control of the zone to rack up additional points. If a teammate uses a special, you can advance through their special, too! One last tip here: keep an eye on the timer. If the opposing team is in control, don’t get too sidetracked splatting their members without taking back control of the zone. It’s easy to lose track if you’re not thinking about it!
Overall, Splat Zones is fairly straightforward to learn, but somewhat difficult to master. We’ve still got a few guides on ranked modes left, so stay tuned if you’re interested in those! If you have any tips for Splat Zones you’d like to share that we didn’t mention here, feel free to drop them below!
Splatoon 3 is available now for Switch. You can visit the official site here.