How to beat the secret Chapter 5 boss in Paper Mario: The Thousand-Year Door
Paper Mario: The Thousand-Year Door is generally light on brand-new content compared to its original version, but the game actually includes a brand-new secret boss. And spoiler alert: it’s incredibly tough. This boss becomes available after you clear Chapter 5, though we don’t recommend taking the challenge until well after you’ve beaten the game. As this boss is new to the Switch remake of Paper Mario: The Thousand-Year Door, its identity can still be considered a spoiler for those looking to discover this for themselves. If you don’t want to be spoiled, come back later. Otherwise, we’ve prepared a handy list of tips and tricks on how to defeat one of the toughest bosses in the game.
How to prepare for the battle

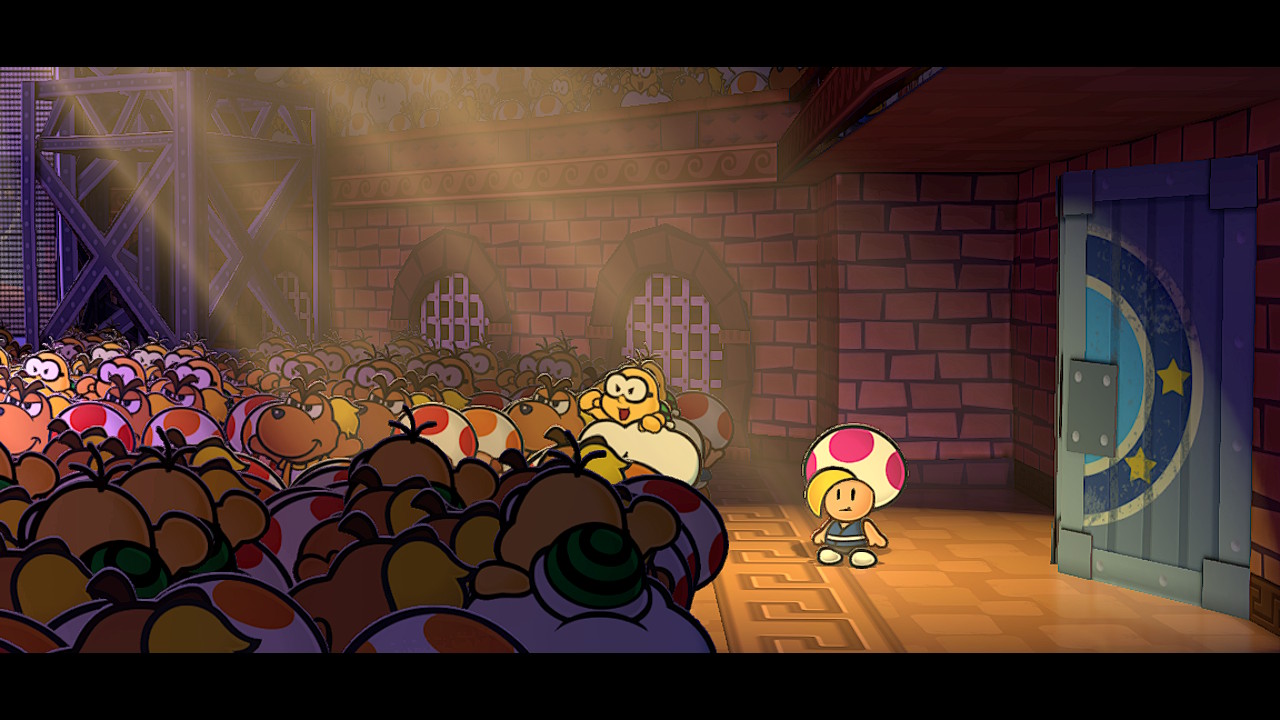
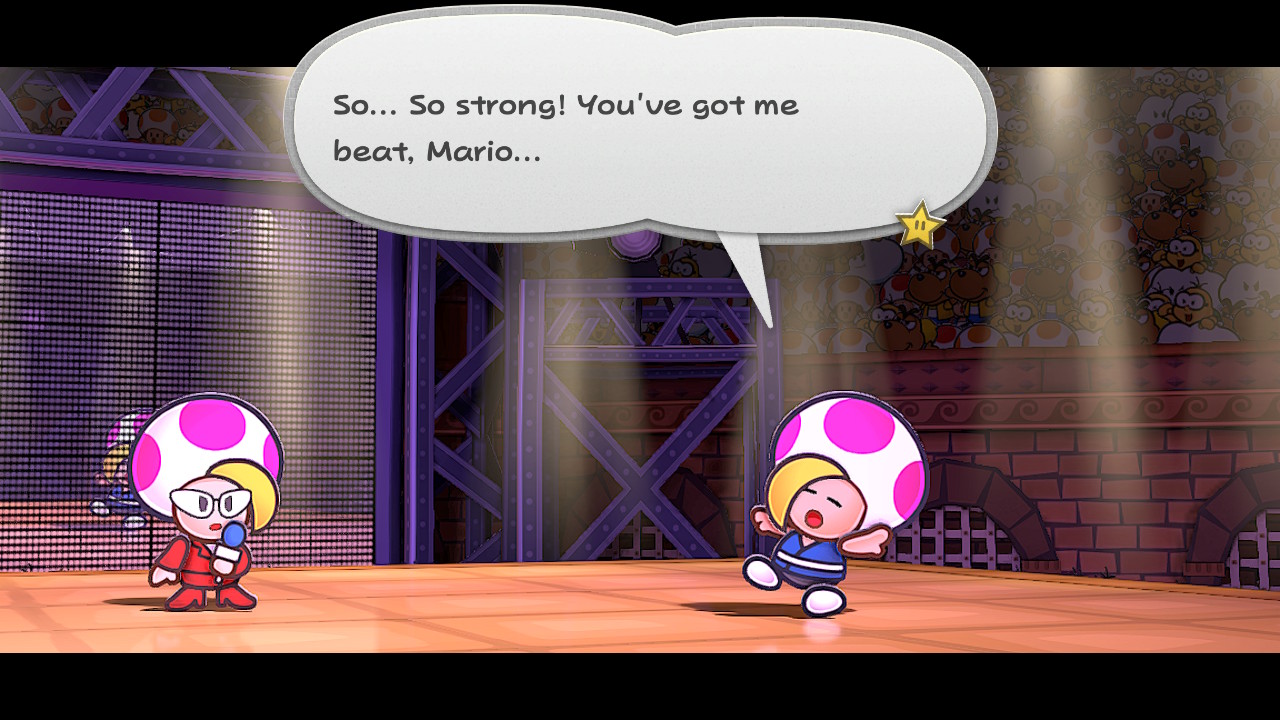
At any point after receiving Prince Mush’s challenge, you can head to the Glitz Pit to find him waiting inside. Speak to him near the minor-league locker room and he’ll ask you to challenge him in an Exhibition Match. To do this, head into the locker room, interact with the screen, and select him from the Exhibition Match menu. Do make sure you’re prepared first, though – this is not a fight you’ll be able to win spontaneously unless you’re really good at superguarding attacks you’ve never seen before. We’d recommend packing as many Life Mushrooms as possible; you can also cook items at Zess T.’s shop that restore both HP and FP. You’ll be needing a whole lot of both during this fight, so bring as many items as your pack will allow you to. We’d recommend fighting Prince Mush after clearing the Pit of 100 Trials; that way you’re both at a good level (we did this at Level 31 in two attempts) and have expanded storage space thanks to the Strange Sack.
For Badges, there’s no surefire setup that will work every single time. We’d recommend simply loading up on attack power. We also used a ton of Close Call and Pretty Lucky Badges, but these can actually backfire in an odd way. They’re incredibly useful during the first phase, but during the second phase, the only way to hurt Prince Mush is to superguard one of his attacks. You can’t do that if the Close Call-type Badges kick in, as Mario will just dodge the attack with no chance to superguard at all (and thus no way to deal damage). For your reference, we had 45 BP during this battle and we used 2 Close Call Badges, 2 Close Call P Badges, 2 Damage Dodge P Badges, HP Plus, Lucky Day, two Power Plus Badges, three Pretty Lucky Badges, and Quick Change. We used Quick Change to swap out our partner if they were close to 0 HP – we want our Life Mushrooms triggering when Mario dies, not his partner, if at all possible.
How to beat Prince Mush

Prince Mush can adopt one of two stances. When he’s jumping up and down, he can only take damage from Jump moves. When he’s jumping from side to side, he only takes damage from Hammer attacks. For the first phase of the battle, use Power Lift to increase Mario and his partner’s attack and defense stats. From there, attack Prince Mush with well-timed Jump and Hammer attacks (depending on his stance). You’ll also need to use Stylish Move versions of these attacks to earn extra Star Points – that way you can keep Power Lift active for more turns. Once Prince Mush has taken about half his health in damage, the battle moves on to the second (and most difficult) phase.
The key to winning this fight is the superguard. Normally, when you’re about to be attacked, you press the A button to guard. This will not be good enough to beat Prince Mush, however. Even with guarding, his phase 2 attacks often deal upwards of 100 damage in total. Instead, you need to press the B button with near-exact timing to superguard right as Prince Mush hits you. The timing here is incredibly strict, so you’ll probably need to take a few attempts to nail the timing. When you superguard one of Prince Mush’s attacks, you will break his defensive stance and be able to inflict damage on him. Otherwise, he remains completely invulnerable, meaning you must superguard to win the match.
A good choice for this phase is to use Koops’ Shell Shield to protect Mario from Prince Mush’s attacks. You’ll still need to superguard, but it does give you something of a small failsafe to buy you more time. Goombella’s Rally Wink is also an option, since Mario has access to both Jump and Hammer attacks whereas most partners only have access to one. That being said, using Rally Wink to transfer Goombella’s turn to Mario will eat up FP fast and eventually require that you use an FP-restoring item.
If you’re really struggling with the superguard timing, you’ll need to play defense to give yourself as much time as possible to nail the timing. Keep Mario at high health, and Prince Mush will eventually execute a multi-hit kick attack that deals around 20 damage per hit. If you’re around Level 30, Mario likely has more than 40 HP, which will let him survive two of these at full health. Do your best to hit the superguard timing, because each individual strike of this kick attack is eligible to be superguarded. If not, one of your Life Mushrooms will kick in and give you another chance. This is definitely a fight that relies on pure skill moreso than Special Move gimmicks, so do your best to get some practice and you’ll have the chance to attack Prince Mush until he goes down!
For winning the fight, you receive Prince Mush’s belt, which is just a commemorative item. But it’s still required for 100% completion! Did you find this fight easy, or more on the difficult side? Feel free to let us know in the comments down below! Remember to Tattle Prince Mush during the fight, because he’s one of the required entries for the Tattle Log. You can rematch Prince Mush via the Exhibition Match menu anytime after you’ve beaten him. You can find the rest of our guides for Paper Mario: The Thousand-Year Door right here.
Paper Mario: The Thousand-Year Door is available now for Switch. You can check the official site here.
