The DioField Chronicle Magilumic Orbs summons guide

Nintendo Everything has created a guide for The DioField Chronicle detailing the game’s summons, known as Magilumic Orbs. We’ll look at each one individually and recommend which upgrades your should prioritize over the course of the game, as well as which ones are the most useful.
Bahamut
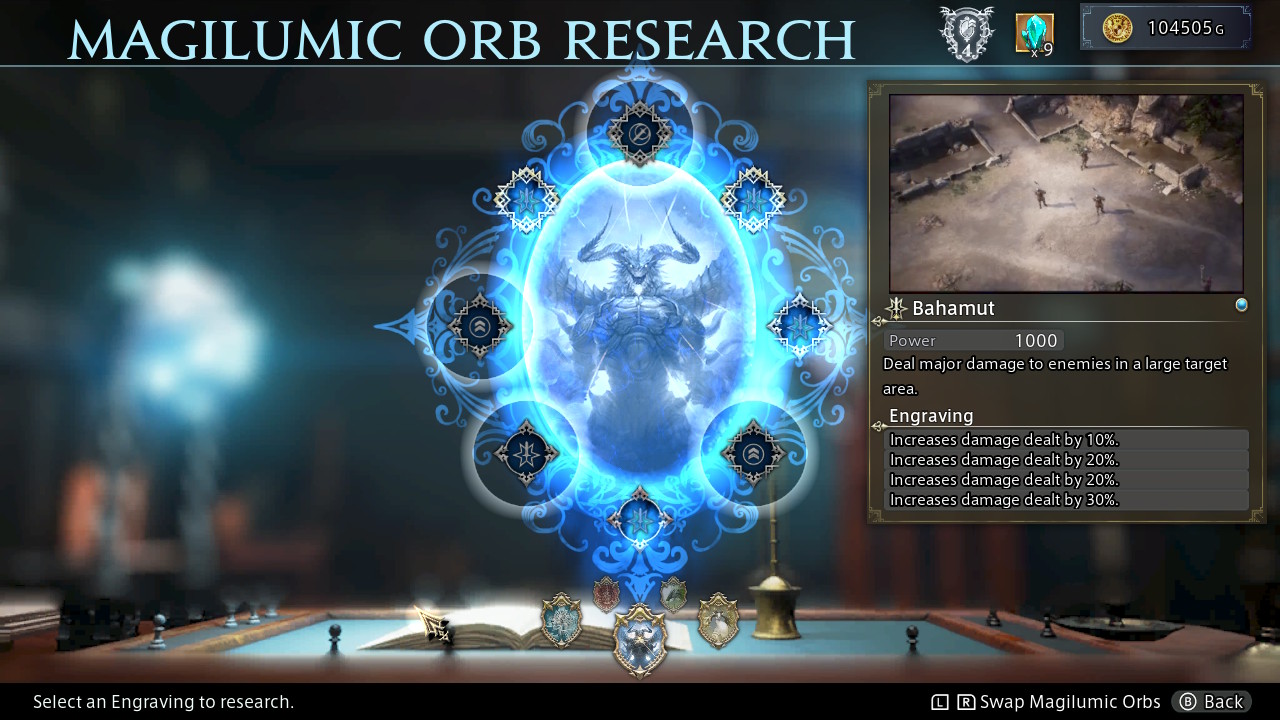
Bahamut is available from the beginning of the game. When upgrading Bahamut, you should prioritize the damage dealt, as you will be using it to either weaken enemies or finish them off entirely. Once you can, unlock the engraving that will have it inflict Burn for increased utility. Enemies tend to cluster together the closer they come to your characters, so increasing the effect range should be your lowest priority and is better saved for when you are able to buy upgrade materials from the shop when it reaches Rank 5. Similarly, the engraving that grants anti-beast and anti-barricade is highly situational, and best saved when your resources aren’t so limited.
Goldhorne
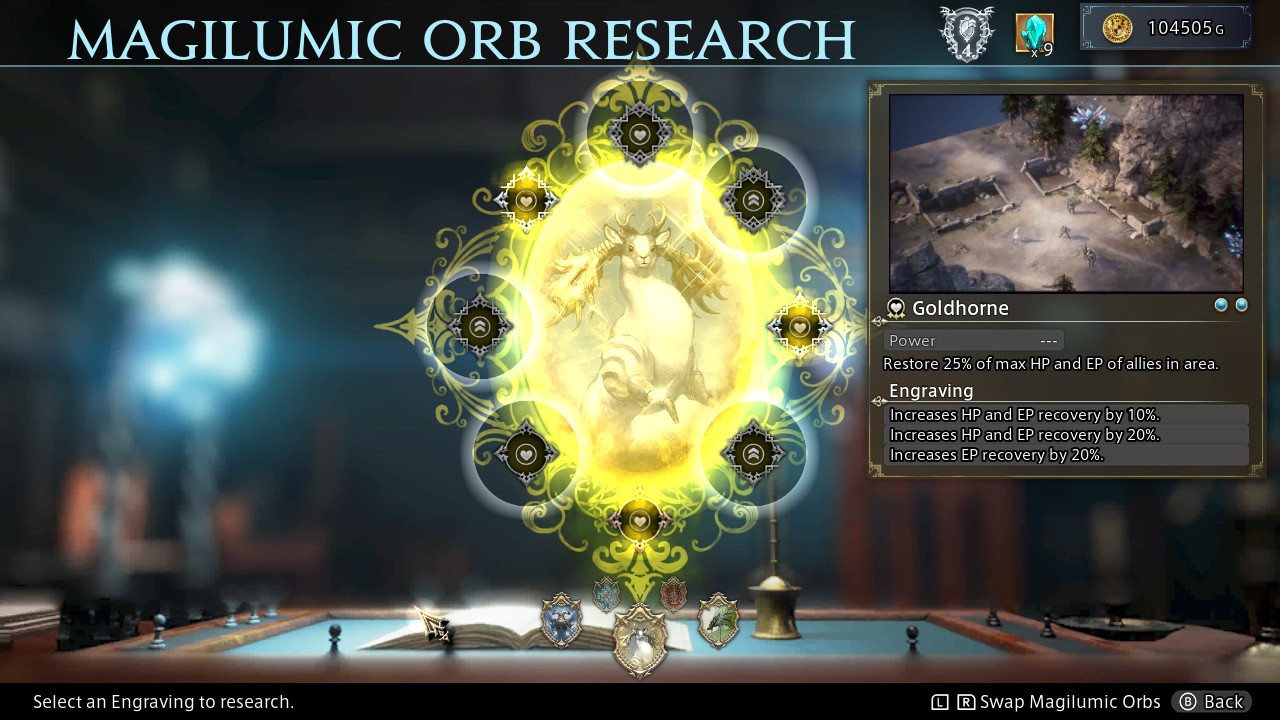
Goldhorne will be the second summon you acquire in The DioField Chronicle after the tutorial on Magilumic Orbs. Your priority when upgrading Goldhorne should be EP recovery, because this is otherwise not an easy resource to recover, being dependent on items and enemy orb drops. After this focus on HP Recovery, and unlock Tenacity when you can for an added benefit to summoning it. Again, as your characters will be clustered together on the field, save upgrading Effect Range for endgame if you feel you need to.
Fenrir
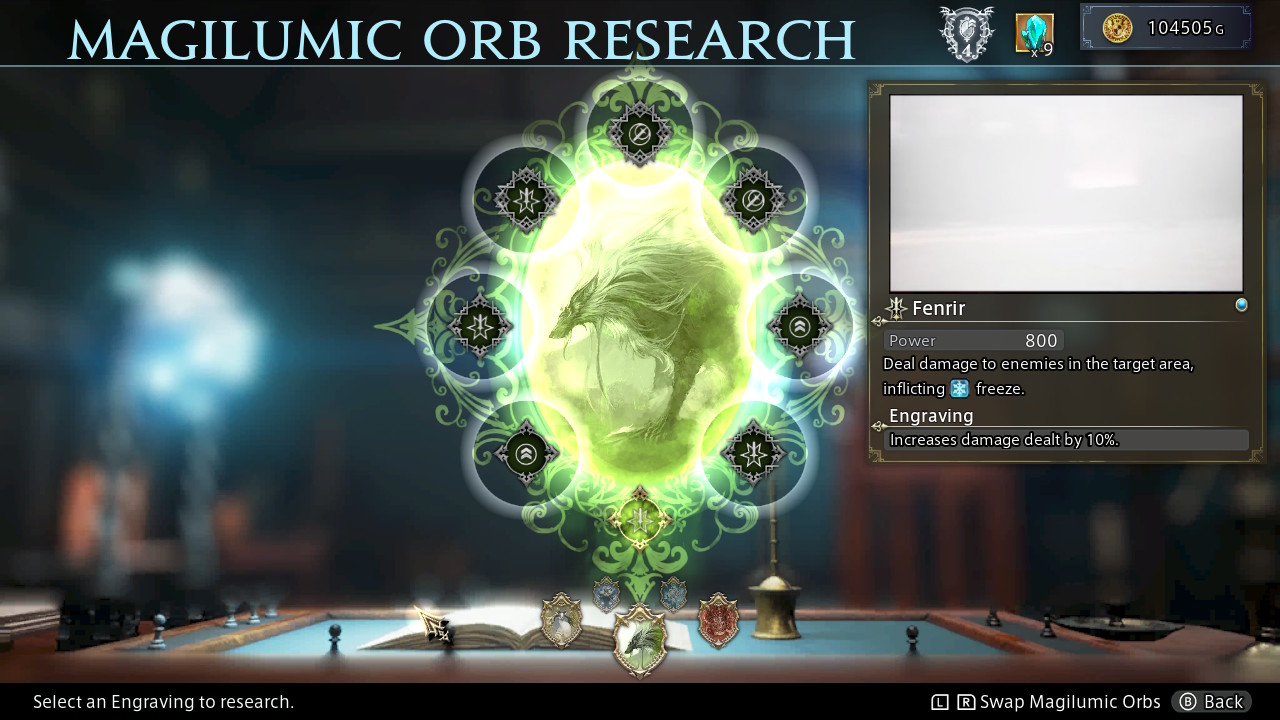
Fenrir is the third Magilumic Orb you will acquire. Unlock the engravings that bestow Weakness and Delay as soon as you are able for additional utility, and then upgrade damage dealt. If you are using Fenrir to stall groups of enemies before they reach you, you may wish to consider upgrading its effect range once, although this is entirely optional and saving your resources may be a better choice.
Salamander
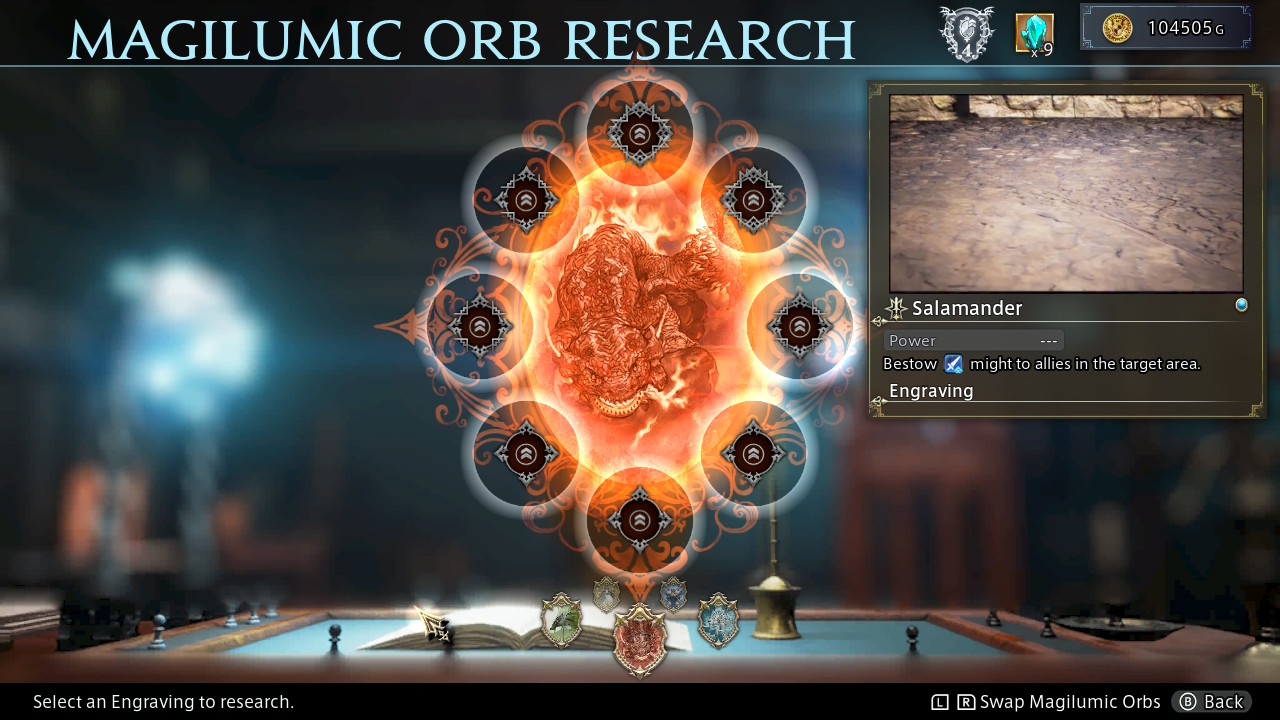
Prioritize unlocking Tenacity and Rapidity for Salamander, before unlocking the engravings that make abnormal statuses last for longer. As with previous summons, save upgrading effect range for endgame unless you are going to use Salamander throughout the game.
Couerl
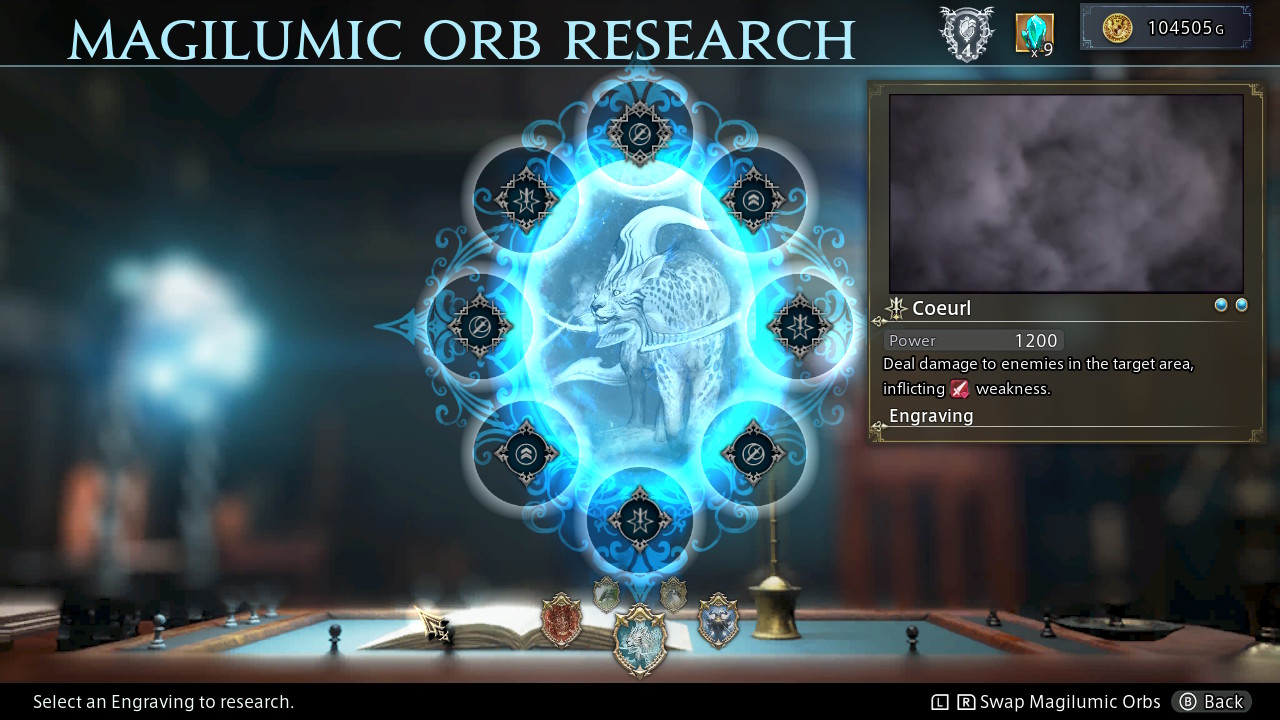
When upgrading Couerl, you should prioritize unlocking engravings that will allow it to inflict Poison, Delay, and Wither, being increasing the damage dealt – this will be more useful in most situations. Again, do not upgrade effect range until your resources are no longer limited.
Ouroboros
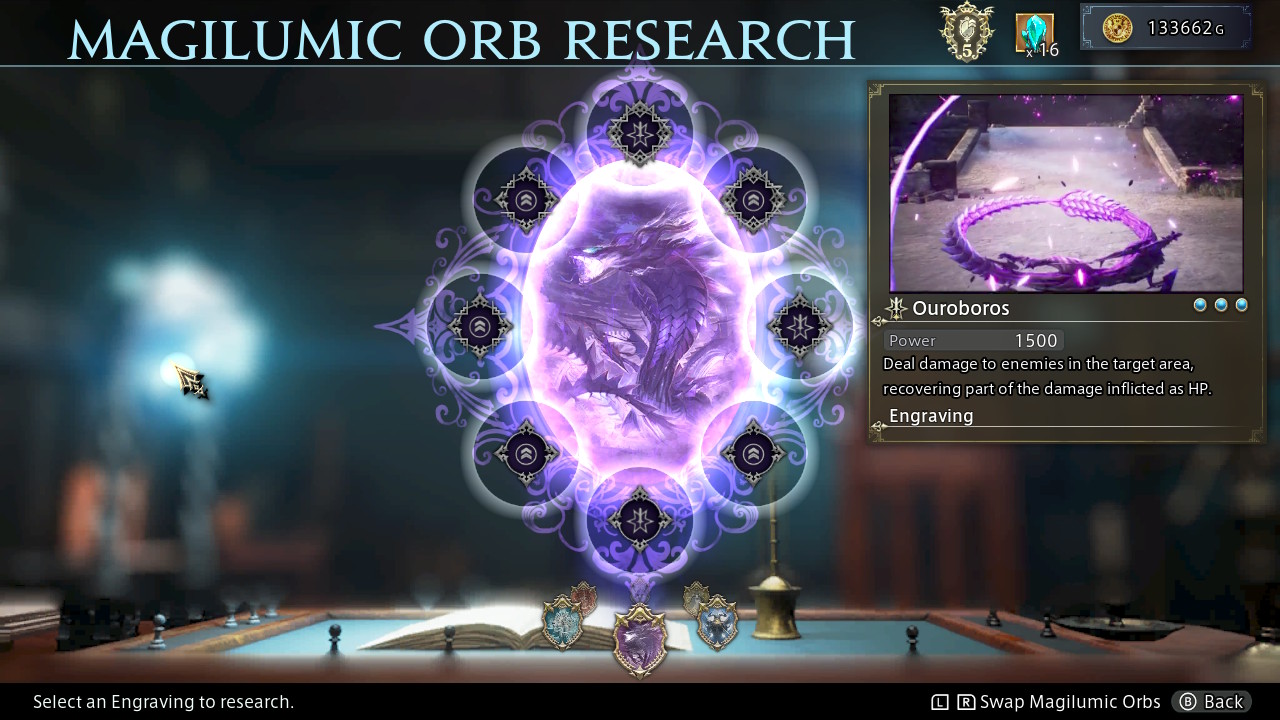
Ouroboros is the final summon you will acquire in The DioField Chronicle and is, as you might expect, the most powerful, and comes with a wide variety of benefits to offset its significant 3 TP cost. Given its already high power, focus first on unlocking its ability to give Might and Tenacity to the summoner. From there, focus on increasing the damage dealt by the summon – whilst reduced cooldown times can be extremely useful if you summon it after using a skill with a longer cooldown, this is highly situational, and additional damage will likely benefit you more in the long run.
Which Magilumic Orbs are the best in The DioField Chronicle?
As you are only able to equip two Magilurmic Orbs and there are six possible options to choose from, it’s important to pick the most useful ones for each encounter.
The best Magilumic Orb is Goldhorne. You are only able to carry a limited number of items, EP recovery is dependent on abilities not every character has access to until endgame equipment, and when HP recovery is otherwise tied to skills with cooldown periods, having the ability to summon Goldhorne for emergency situations is invaluable throughout the game. It is more than worth the 2 TP cost required to summon it.
For your second Magilumic Orb Fenrir would be your best choice, for its ability to inflict Delay and Weakness with upgrades, and also comes with Freeze by default, which is a very helpful ability to have because it lasts longer than stun. Despite being weaker than Bahamut, Fenrir also costs 1 TP to summon, and the added status effects it inflicts make it the more useful of the two in most situations.
Bahamut would be a viable alternative to Fenrir if you find yourself struggling and in need of a little extra power to see you through tougher battles – while it is not powerful enough to take out enemies with a single blow, its 1 TP cost means you can summon it multiple times with greater ease than stronger summons.
The status buffs provided by Salamander can be useful, but they are also easily applied by your own party members through using skills, and whilst having them last longer means that you won’t need to apply them as often, most encounters in the game will be too brief for them to wear off, or you will be able re-apply them between breaks. But as it only costs 1TP to summon, it may be useful in certain situations if you don’t wish to make use of skills.
The status debuffs provided by Couerl can be helpful, and it is more powerful than Bahamut at base power, but it unfortunately costs 2 TP to use, and TP is a scarce resource that takes time to charge up. You would be better off inflicting the ailments yourself where needed through skills, and saving your TP to either summon Fenrir and Bahamut twice, or summon Goldhorne once.
Despite its power and the useful effects it brings with it in combat, Ouroboros costs a staggering 3 TP to use, and ultimately isn’t worth the cost at the late stage in the game at which you acquire it.